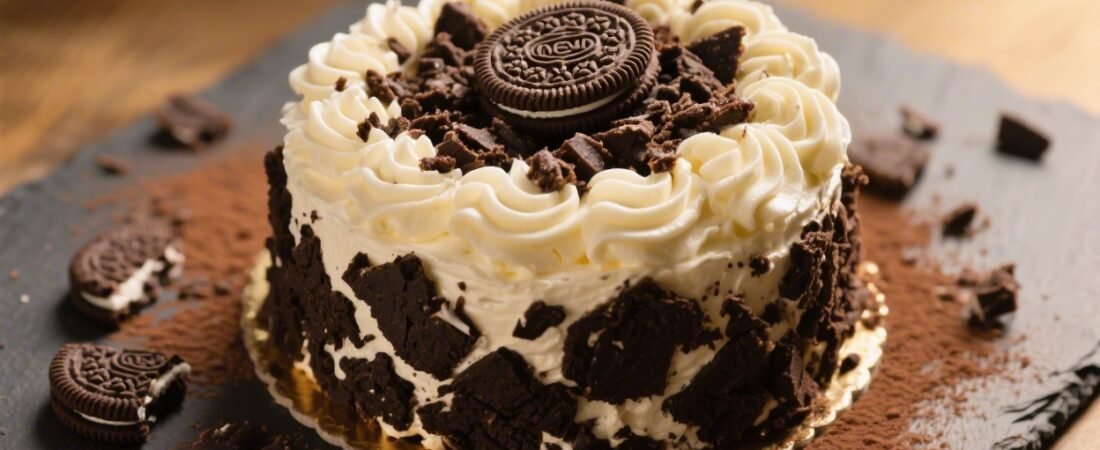
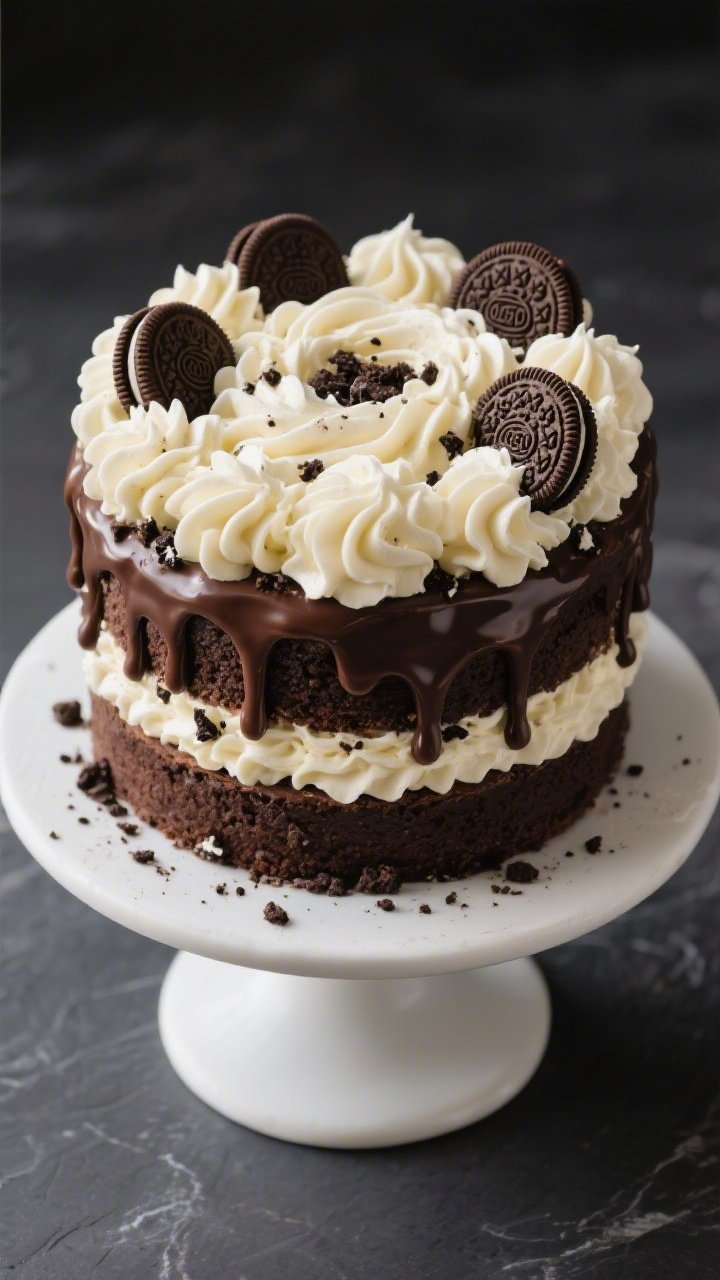
Let’s make a showstopper. This Cookies and Cream Bloom Cake is all about sky-high layers, swoops of silky frosting, and those over-the-top buttercream rosettes that make everyone ask, “Wait, you made that?” It’s bakery-beautiful but totally doable at home—with big Oreo flavor, plush crumb, and just enough drama to steal the dessert table.
We’re going all in: tender chocolate cake, cookies-and-cream buttercream, glossy ganache, and cookie crumble accents. You’ll get the full blueprint plus clever variations, because your cake should be as fun to make as it is to slice. Ready to bake a masterpiece?
1. Cloud-Soft Chocolate Layers That Hold Their Shape (And Your Frosting)
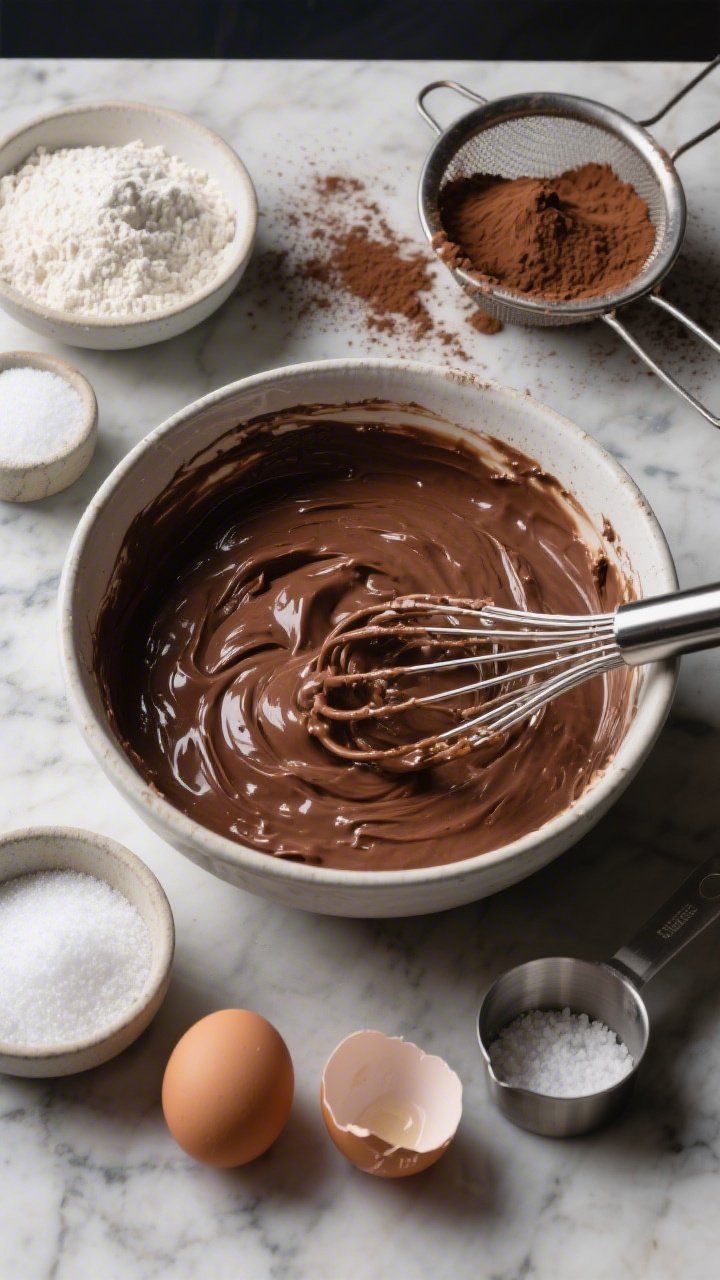
This is the backbone of your bloom cake: deeply chocolatey, moist layers that slice cleanly and stay tender for days. The oil keeps it plush, the buttermilk adds tang, and a touch of espresso wakes up the cocoa without tasting like coffee.
Ingredients:
- 2 cups (260 g) all-purpose flour
- 2 cups (400 g) granulated sugar
- 3/4 cup (75 g) Dutch-process cocoa powder
- 2 tsp baking soda
- 1 tsp baking powder
- 1 tsp fine sea salt
- 2 large eggs, room temperature
- 1 cup (240 ml) buttermilk, room temperature
- 1 cup (240 ml) hot brewed coffee or hot water + 1 tsp espresso powder
- 1/2 cup (120 ml) neutral oil (canola or grapeseed)
- 2 tsp pure vanilla extract
- Nonstick spray + parchment rounds for pans
Instructions:
- Preheat the oven to 350°F (175°C). Grease and line two 8-inch round cake pans with parchment. Grease again and lightly flour. This cake is moist—don’t skip lining.
- In a large bowl, whisk flour, sugar, cocoa, baking soda, baking powder, and salt until evenly combined and lump-free.
- In a second bowl, whisk eggs, buttermilk, oil, and vanilla until smooth. Pour wet into dry and whisk just until combined. The batter will be thick.
- Slowly stream in the hot coffee, whisking until silky and pourable. It will look thin—perfect.
- Divide batter evenly between pans (a scale helps). Tap pans gently to release air bubbles.
- Bake 28–33 minutes, until a toothpick comes out with a few moist crumbs. Don’t overbake; the edges should just pull away.
- Cool in pans 10 minutes, then turn out onto racks. Peel parchment and cool completely. For easiest assembly, wrap and chill the layers 1–2 hours or overnight.
Serve these as-is with powdered sugar if you’re feeling minimalist, but for the bloom cake, chill them first. Cold layers are sturdier for stacking. Want extra height? Bake 1.5x the recipe for three layers and adjust bake times slightly.
2. Silky Cookies-And-Cream Buttercream That Pipes Like A Dream
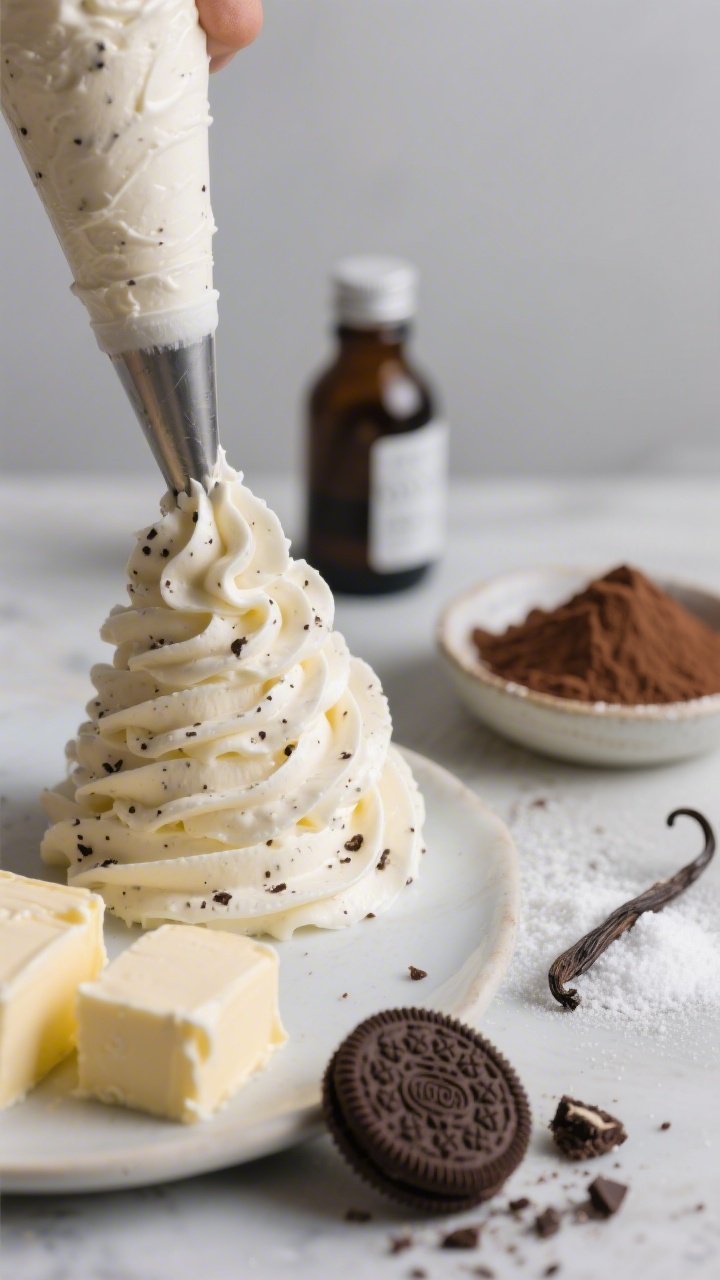
Meet your showpiece frosting: not-too-sweet, ultra-smooth, studded with cookie crumbs, and sturdy enough for dramatic rosettes. We’re using a hybrid American buttercream with cream cheese for tang and stability—seriously satisfying and easy to work with.
Ingredients:
- 1 cup (225 g) unsalted butter, room temperature
- 6 oz (170 g) full-fat cream cheese, room temperature
- 4 1/2 cups (540 g) confectioners’ sugar, sifted
- 1/4 cup (30 g) Dutch-process cocoa powder, sifted (optional for marbled effect)
- 1/4 cup (60 ml) heavy cream, plus 1–3 tbsp more as needed
- 2 tsp pure vanilla extract
- 1/4 tsp fine sea salt
- 18 chocolate sandwich cookies (Oreos), very finely crushed (about 1 1/2 cups loose crumbs)
Instructions:
- With a stand mixer (paddle) or hand mixer, beat butter and cream cheese on medium-high until fluffy and pale, 3–4 minutes. Scrape the bowl.
- Add confectioners’ sugar in 3 additions on low, then beat on medium until smooth. Add vanilla and salt.
- Stream in heavy cream; beat on medium-high 1–2 minutes until light and satiny. Adjust with a splash more cream if too thick.
- Fold in cookie crumbs with a spatula until evenly speckled. For cleaner piping, sift the crumbs or pulse cookies to a fine sand—big chunks can clog piping tips.
- Optional marbling: Remove 1 cup of buttercream and whisk in cocoa powder for a chocolate accent color you can stripe inside your piping bag.
Pro tip: Keep about 1/2 cup of plain (no-crumb) buttercream aside for a super-smooth crumb coat. Cookies can make the first layer bumpy, so this trick keeps edges sharp. If your kitchen is warm, chill the bowl 10 minutes to firm it up before piping.
3. Glossy Ganache Drip And Cookie Crumble Accents For The Drama
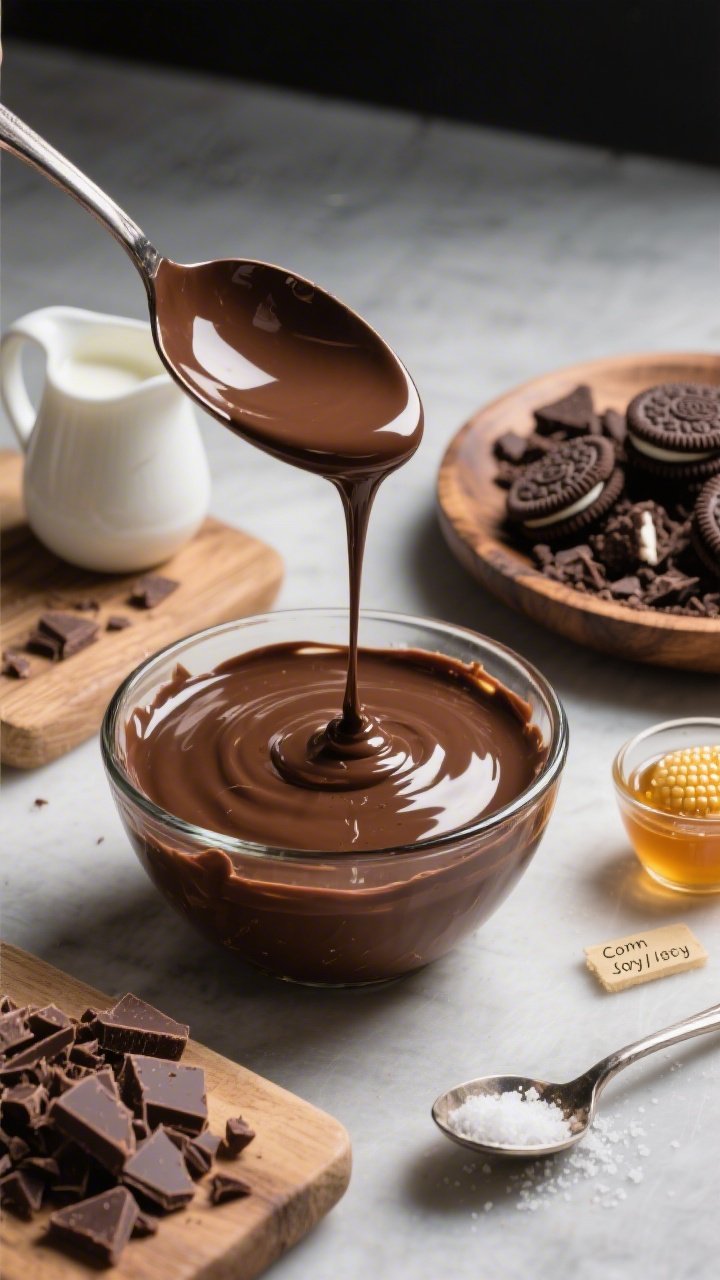
This is the part that makes people gasp. A shiny ganache drip hugs the sides, while salted cookie crumbles add crunch and that bakery-fancy look without any fondant fuss. Bonus: both can be made ahead.
Ingredients:
- 4 oz (115 g) semi-sweet chocolate, finely chopped
- 1/2 cup (120 ml) heavy cream
- 1 tsp corn syrup or honey (for extra gloss, optional)
- Pinch of fine sea salt
- 8 chocolate sandwich cookies, roughly chopped
- 1 tbsp unsalted butter, melted
- 1 tbsp granulated sugar
- 1/8 tsp flaky sea salt
Instructions:
- Make the ganache: Heat cream until steaming (just shy of a simmer). Pour over chopped chocolate in a heatproof bowl. Let sit 2 minutes, then whisk from center outward until glossy. Stir in corn syrup and a pinch of salt. Cool to a dripable but thick consistency (about 90–95°F / 32–35°C).
- Make the cookie crumble: Toss chopped cookies with melted butter, sugar, and flaky salt. Spread on a plate and let set 10 minutes so it’s crisp and clustery.
- Transfer ganache to a squeeze bottle or use a spoon for controlled drips. If it’s too runny, chill 3–5 minutes; too thick, warm 5–10 seconds.
Ganache too shy to drip? Your cake might be too cold; let it sit 5 minutes and try again. Too eager and racing to the base? Thicken the ganache a touch before continuing. You’re in charge here.
4. Bloom-Worthy Assembly With Buttercream Rosettes That Wow
Time to build the bloom. We’ll stack the layers, add a clean coat, drip the ganache, then cover the top in dramatic rosettes that look like a florist got into pastry school. The secret is even pressure and a star tip—simple tools, big payoff.
Ingredients:
- 2 chocolate cake layers (from Section 1), chilled
- Cookies-and-cream buttercream (from Section 2)
- Ganache and cookie crumble (from Section 3)
- Extra chocolate sandwich cookies, whole and halved, for garnish
- Tools: turntable, offset spatula, bench scraper, piping bags, large closed-star tip (Wilton 2D or Ateco 849), small round tip (optional)
Instructions:
- Level the cakes if domed. Smear a spoonful of buttercream on a cake board to anchor. Place the first layer, cut side up.
- Fill: Pipe a dam of buttercream around the edge, then spread a generous 3/4 cup in the center. Sprinkle a handful of cookie crumble for crunch if you like.
- Top with second layer, cut side down. Press gently to seal and check it’s level.
- Crumb coat: Using the plain (no-crumb) buttercream if you reserved some, apply a thin coat around and on top. Smooth with a bench scraper. Chill 15–20 minutes until just firm.
- Final coat: Add a thicker layer of cookies-and-cream buttercream. Smooth sides and top, keeping edges sharp. Chill 10 minutes to set.
- Ganache drip: Working around the rim, add drips every inch, varying lengths for a natural look. Fill the center with a thin layer and smooth. Chill 5 minutes to set.
- Rosettes: Fit a piping bag with a closed-star tip. For marbled rosettes, paint two chocolate buttercream stripes inside the bag, then fill with cookies-and-cream buttercream. Pipe rosettes on top by starting in the center of each bloom, spiraling outward with steady pressure, then releasing. Nestle them tightly to cover the top.
- Accents: Tuck cookie halves between rosettes; sprinkle cookie crumble strategically in the negative spaces. Add a few whole cookies standing upright for height.
Keep the cake chilled until 30–45 minutes before serving for clean slices and sturdy rosettes. If transporting, chill at least 1 hour first so the buttercream is firm. Want extra floral vibes? Add small buttercream leaves with a leaf tip or scatter chocolate pearls for sparkle.
5. Party-Perfect Variations, Make-Ahead Plan, And Pro Serving Tricks
Because you’re the boss of this bloom. Here’s how to tweak the flavor, prep like a pro, and slice like a pastry chef. It’s the same core cake, but you can remix the mood for birthdays, showers, or honestly just a Tuesday.
Ingredients:
- Optional add-ins for variations:
- 1/2 cup mini chocolate chips (fold into buttercream or sprinkle between layers)
- 1 tsp peppermint extract (swap for 1 tsp of the vanilla in buttercream)
- 1/4 cup crushed freeze-dried strawberries (fold into 1 cup buttercream for pink swirls)
- 1/2 cup salted caramel sauce (drizzle over filling layers)
- Gluten-free chocolate sandwich cookies (for a GF-friendly twist)
- Neutral oil spray and parchment for extra cupcake or sheet-cake versions
Instructions:
- Make-ahead timeline:
- 2–3 days ahead: Bake cake layers, cool, wrap tightly, and refrigerate. Or freeze up to 1 month; thaw in the fridge overnight wrapped.
- 1–2 days ahead: Make buttercream and ganache. Store buttercream covered in the fridge; bring to room temp and rewhip before using. Keep ganache chilled, then gently warm to drip consistency.
- Day of: Assemble, chill, and pipe rosettes. Garnish just before serving to keep cookies crisp.
- Flavor swaps:
- Peppermint Oreo Bloom: Add peppermint extract to the buttercream and top with crushed candy canes in winter. Instant holiday magic.
- Strawberries & Cream Bloom: Fold crushed freeze-dried strawberries into a portion of buttercream for pink rosettes and a tangy pop.
- Caramel Crunch Bloom: Drizzle salted caramel between layers with cookie crumble. Finish with a caramel zigzag over rosettes.
- Shape shifts:
- Sheet Cake: Bake in a 9×13-inch pan at 325°F (165°C) for 35–45 minutes. Frost, drip one side like a waterfall, then pipe rosette clusters in two corners.
- Cupcakes: Bake 24 cupcakes at 350°F (175°C) for 18–22 minutes. Core and fill with crushed cookie + buttercream, then pipe a single giant rosette on each. Tiny blooms, big energy.
- Visual polish:
- Use a hot bench scraper (dip in warm water, wipe dry) for glassy sides.
- Pipe rosettes in varying sizes for a garden effect. Alternate pressure to create depth.
- Sift a whisper of cocoa or powdered sugar over the top just before serving for contrast.
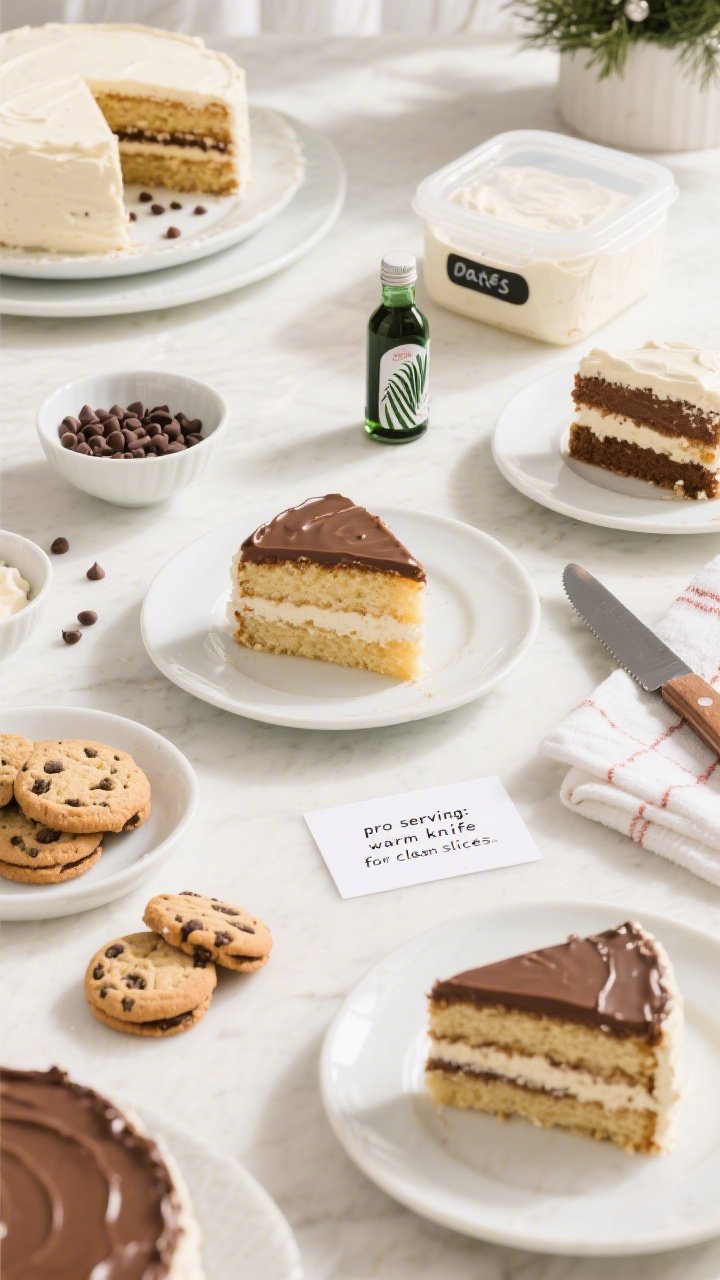
- Serving and slicing:
- Room temp is best. Pull the cake out 30–45 minutes before slicing for silkier buttercream and fuller flavor.
- Use a long, sharp knife warmed in hot water and wiped dry between cuts for clean layers.
- Store leftovers covered in the fridge up to 4 days. Bring to room temp before enjoying. You can freeze slices wrapped well for up to 1 month.
Want extra lift between layers? Add a second, thinner layer of buttercream and a ring of crushed cookies for a “cookies-and-cream crunch bar” texture in every bite. Trust me, the crowd goes wild.
FAQs And Quick Fixes
My buttercream looks grainy. Let it come fully to room temp and beat on medium-high with 1–2 teaspoons cream until silky.
My drips look messy. Chill the cake slightly more and thicken the ganache 5 minutes before retrying. Practice on an upside-down bowl first.
My rosettes won’t hold. The buttercream is too warm. Chill the piping bag 5–10 minutes and try again. Cool kitchen = crisp petals.
Shopping List Snapshot
Here’s a quick hit so you can shop without scrolling:
- Flour, sugar, cocoa, baking soda, baking powder, salt
- Eggs, buttermilk, oil, vanilla
- Coffee or espresso powder
- Butter, cream cheese, confectioners’ sugar, heavy cream
- Chocolate (semi-sweet), corn syrup or honey (optional)
- Chocolate sandwich cookies (a big pack—trust me)
- Optional: mini chips, peppermint extract, freeze-dried strawberries, caramel
Decoration Game Plan
Think balance: big rosettes in the center, smaller blooms around, then tuck in cookie accents. A little asymmetry looks modern—cluster cookies on one side, sprinkle crumble in a crescent, and leave a few glossy ganache windows peeking through.
And here’s a tiny secret for professional vibes: press a few crumble bits into the base edge to hide any wobbles. Instant bakery finish.
Bottom line? This Cookies and Cream Bloom Cake hits all the right notes—soft chocolate sponge, tangy-sweet frosting, crunchy cookie bits, and that dramatic rosette top that photographs like a dream. It’s the kind of cake that makes people linger over dessert and sneak an extra slice.
Ready to bloom? Preheat that oven, cue your favorite playlist, and give yourself permission to make something gorgeous. You’ve got this—and your cake is about to be everyone’s new obsession.
Printable Recipe Card
Want just the essential recipe details without scrolling through the article? Get our printable recipe card with just the ingredients and instructions.