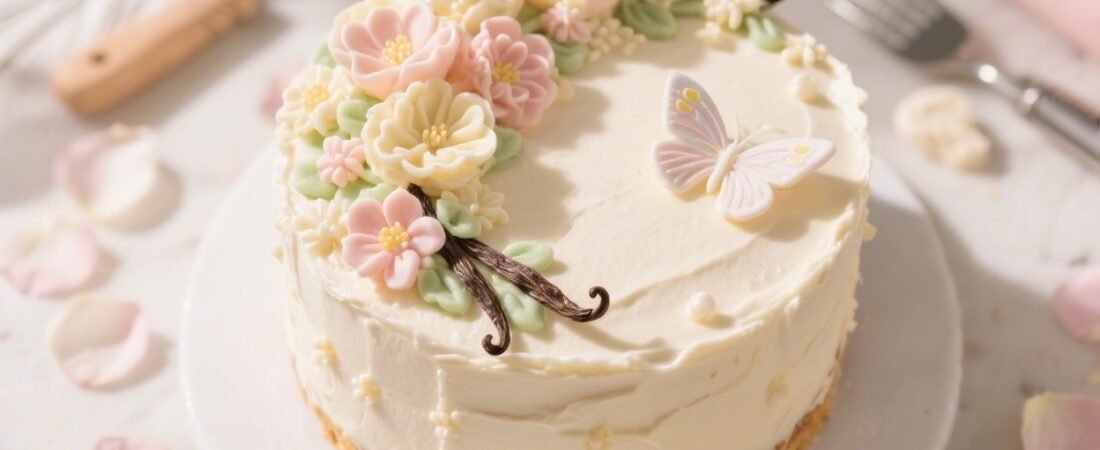
Ready to bake a showstopper that tastes like a Parisian patisserie and looks like a storybook garden? This Vanilla Bean Butterfly Garden Cake is fragrant, fluffy, and dressed in buttercream blooms with delicate butterfly details. It’s the kind of bake that makes people gasp before they even take a bite—and then go quiet because they’re too busy savoring real vanilla and cloud-soft crumb.
We’re building the whole thing step by step, from fragrant cake layers to silky fillings, dreamy florals, and those magical butterfly wings. I’ve split it into five friendly mini-recipes so you can tackle them one at a time and feel like a buttercream boss by the end. Ready? Aprons tied, mixers out, and let’s turn your kitchen into a tiny cake studio.
1. Cloud-Soft Vanilla Bean Cake Layers That Smell Like a Hug
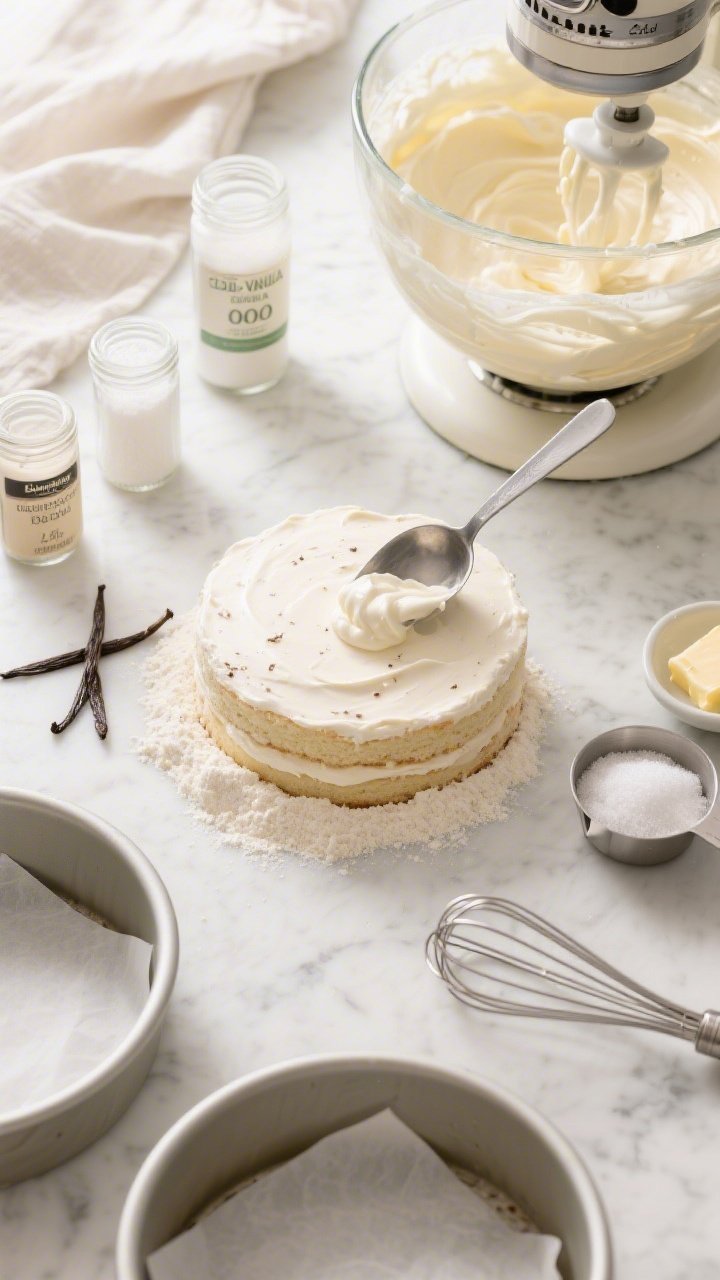
This is the base of our garden: plush, buttery layers perfumed with real vanilla bean. The crumb is tender (thanks to sour cream) and sturdy enough to stack without crumbling. Perfect for celebrations, tea parties, or any day that needs a little magic.
Ingredients:
- 2 3/4 cups (330 g) cake flour, spooned and leveled
- 2 teaspoons baking powder
- 1/2 teaspoon baking soda
- 1 teaspoon fine sea salt
- 1 cup (227 g) unsalted butter, room temperature
- 1 3/4 cups (350 g) granulated sugar
- 4 large eggs, room temperature
- 2 teaspoons pure vanilla extract
- 1 vanilla bean, split and seeds scraped (or 2 teaspoons vanilla bean paste)
- 3/4 cup (180 g) sour cream, room temperature
- 3/4 cup (180 ml) whole milk, room temperature
Instructions:
- Prep the pans. Heat oven to 350°F (175°C). Grease, line, and flour three 8-inch round cake pans (or two 9-inch). Set aside.
- Whisk dry ingredients. In a bowl, whisk cake flour, baking powder, baking soda, and salt until combined.
- Cream butter and sugar. In a stand mixer with paddle, beat butter and sugar on medium-high until pale and fluffy, 3–4 minutes. Scrape bowl.
- Add eggs and vanilla. Beat in eggs one at a time on medium, then add vanilla extract and vanilla bean seeds. Mix just to combine.
- Alternate dry and wet. On low, mix in half the dry ingredients. Add sour cream, then the remaining dry. Stream in milk until smooth; don’t overmix.
- Bake. Divide batter evenly among pans (a scale helps). Bake 22–27 minutes, until tops spring back and a tester comes out clean.
- Cool. Let cakes rest 10 minutes in pans, then turn onto racks. Cool completely before filling and decorating.
Serving and Tips: For ultra-even layers, trim domes with a serrated knife once cool. You can bake the layers a day ahead, wrap tightly, and chill; slightly chilled cake is easier to stack and frost. Prefer cupcakes? This batter makes about 24—bake 16–18 minutes.
2. Silky Vanilla Bean Swiss Meringue Buttercream That Spreads Like a Dream
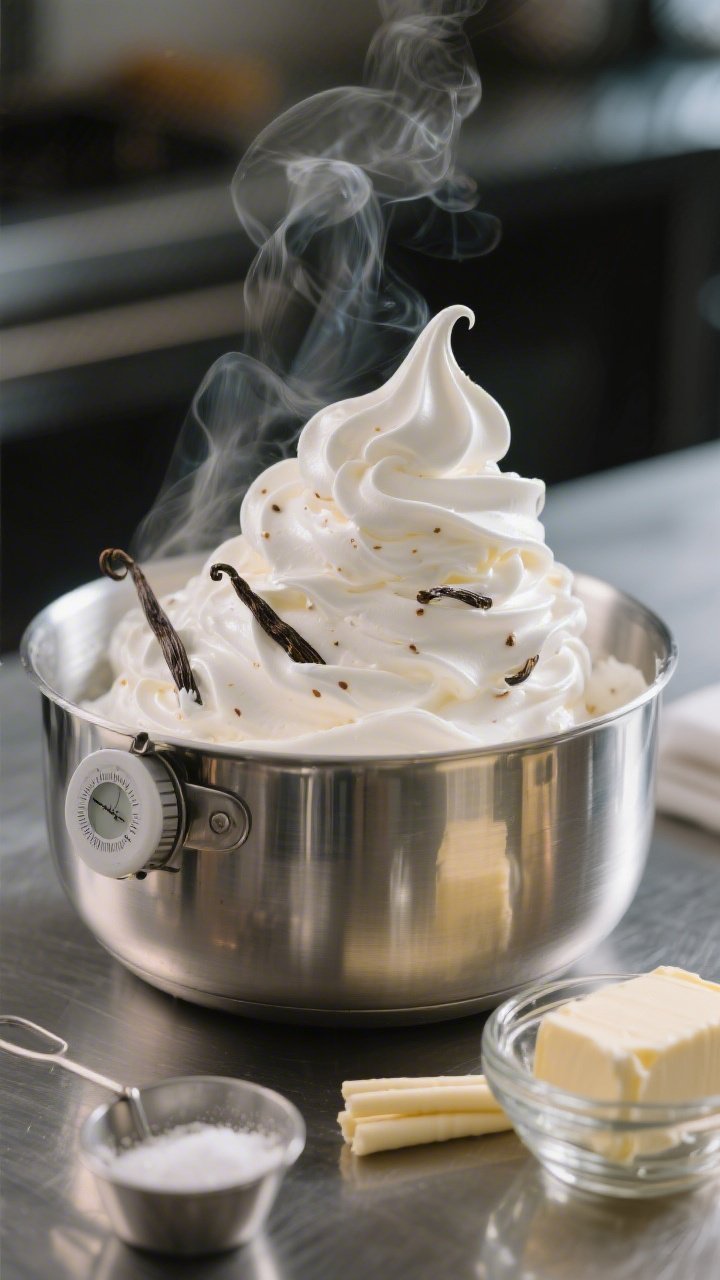
This is the buttercream you’ll want on everything: glossy, billowy, and not too sweet. It’s perfect for smooth sides, delicate piping, and holding our pastel palette without getting grainy. The vanilla bean makes it swoon-worthy.
Ingredients:
- 6 large egg whites (180 g), room temperature
- 1 1/2 cups (300 g) granulated sugar
- 1/4 teaspoon cream of tartar (optional, for stability)
- 1 1/2 cups (340 g) unsalted butter, cool room temperature, cut into cubes
- 1 teaspoon pure vanilla extract
- 1 vanilla bean, split and seeds scraped (or 2 teaspoons vanilla bean paste)
- Pinch fine sea salt
Instructions:
- Warm the meringue. In a heatproof bowl over a simmering pot (not touching water), whisk egg whites, sugar, and cream of tartar. Heat, whisking constantly, until sugar dissolves and mixture reaches 165°F (74°C), 3–5 minutes.
- Whip to glossy peaks. Transfer to a stand mixer with whisk. Beat on high until stiff, glossy peaks form and the bowl is cool to the touch, 7–10 minutes.
- Add butter. Switch to paddle. On medium-low, add butter a few pieces at a time. It may look soupy or curdled—keep mixing. It’ll come together silky-smooth in 3–5 minutes.
- Flavor. Add vanilla extract, vanilla bean seeds, and salt. Beat 30 seconds until creamy and spreadable.
- Color (optional). Divide into bowls for your pastel palette later; keep most of it white or ivory for crumb-coating and final smoothing.
Serving and Tips: If your buttercream looks broken, keep beating—temperature is usually the culprit. Too warm? Chill 10 minutes and re-whip. Too cold? Warm the bowl’s exterior with your hands or a warm towel and keep mixing. You can make this 3–4 days ahead; bring to room temp and re-whip before using.
3. Lemon-Vanilla Silk Filling With Jammy Pockets for Sunbeam Flavor
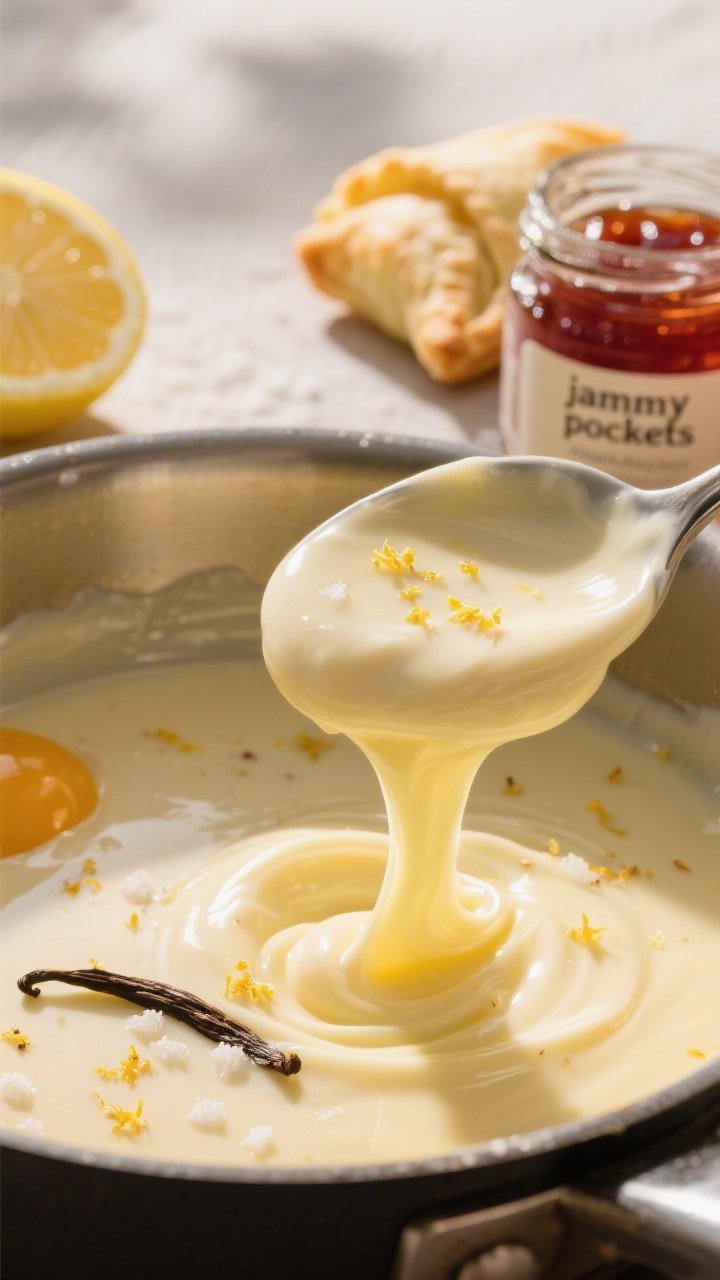
We’re layering bright lemon silk with little bursts of berry—like sunshine and petals in every slice. It balances the sweet buttercream and keeps each bite lively. Great for spring birthdays or baby showers that need a soft, elegant flavor pop.
Ingredients:
- 1 cup (240 ml) whole milk
- 1/2 cup (120 ml) heavy cream
- 4 large egg yolks
- 1/3 cup (67 g) granulated sugar
- 3 tablespoons cornstarch
- Pinch fine sea salt
- Zest of 1 lemon (finely grated)
- 1 tablespoon fresh lemon juice
- 1 teaspoon vanilla bean paste (or seeds from 1/2 vanilla bean)
- 2 tablespoons unsalted butter
- 1/2 cup (150 g) seedless raspberry or strawberry jam (slightly warmed and stirred smooth)
Instructions:
- Whisk yolks and dry. In a saucepan off heat, whisk egg yolks, sugar, cornstarch, and salt until smooth and pale.
- Add dairy and zest. Slowly whisk in milk and cream until no lumps remain. Add lemon zest.
- Cook to thicken. Set over medium heat, whisking constantly, until thick, glossy bubbles appear and the custard coats a spoon, 4–6 minutes.
- Finish. Remove from heat; whisk in lemon juice, vanilla, and butter until silky. Transfer to a shallow dish, press plastic wrap directly on the surface, and chill until cold.
- Prep jam. Warm jam briefly so it’s spoonable. You’ll dot it between layers for little berry gems.
Serving and Tips: Don’t overstuff the layers—1/2 cup custard per layer is plenty to avoid slide. No jam? Use lemon curd for extra zing or chopped macerated strawberries (well drained) for a fresh twist. The custard can be made two days ahead.
4. Floral Piping Buttercream Palette With Pastel Detail That Feels Like Spring
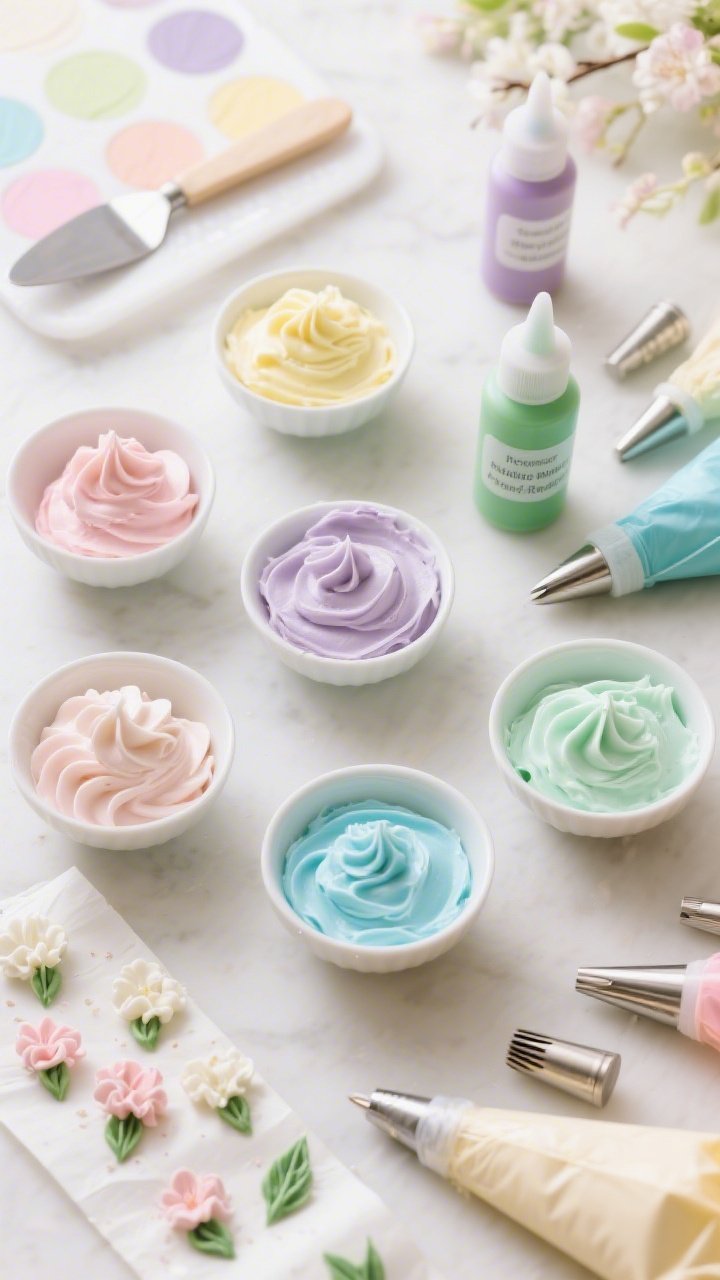
Here’s where the whimsy kicks in. We’ll tint little bowls of buttercream into soft pastels and pipe blossoms, leaves, and vines that look straight from a cottage garden. No art degree needed—just the right tips and a light touch.
Ingredients:
- 4–5 cups Vanilla Bean Swiss Meringue Buttercream (from Recipe 2), room temperature
- Gel food colors in pastel tones: petal pink, butter yellow, lavender, sky blue, mint, and a touch of moss green
- Optional: tiny bit of brown or gold for flower centers
- Piping bags (8–10), couplers optional
- Piping tips:
- Petal tips: Wilton 104 or 125
- Round tips: 1, 2, and 3
- Leaf tips: 349 or 352
- Closed star tip: 30 or 32
- Flower nails and parchment squares (optional, for pre-piped flowers)
Instructions:
- Base coat. Level cakes. Add a thin layer of buttercream to “glue” them to a board. Stack with a buttercream dam and 1/2 cup lemon-vanilla filling per layer, plus a few “jam dots.” Crumb coat the whole cake and chill 20 minutes.
- Smooth the canvas. Apply a thicker coat of ivory buttercream and smooth the sides and top with a bench scraper and offset spatula. Chill 15 minutes to set.
- Mix pastels. Divide buttercream into small bowls. Tint gently—start with a toothpick’s worth of gel and build color slowly for soft hues. Keep one bowl moss green for vines and leaves.
- Plan your garden. Lightly sketch a loose crescent or diagonal swag with a toothpick so the design feels airy, not crowded.
- Pipe blossoms.
- Roses: Use petal tip 104; pipe small, tight roses and buds in pink and lavender.
- Daisies: Round tip 2 for petals, dot of yellow center with round tip 1.
- Forget-me-nots: Tiny star tip 30 for five petals, blue with a yellow dot.
- Ranunculus swirls: Petal tip 125, overlapping short petals around a center.
- Add greenery. With leaf tip 352, pipe small leaves tucked under petals. Use round tip 2 with moss green to draw delicate vines that connect clusters.
- Pastel detail. With round tip 1–2, add micro dots, tiny hearts, or sprinkle-like confetti in coordinating colors to fill negative space.
- Chill to set. Pop the cake in the fridge 15 minutes so the flowers hold definition.
Serving and Tips: Keep pressure gentle and steady when piping; practice on parchment first. If your hand warms the bag and softens the buttercream, swap to a fresh bag and chill the soft one for a few minutes. For a watercolor effect, smear faint pastel streaks on the cake before piping the florals.
5. Vanilla Bean Butterfly Wings and Assembly That Brings the Garden to Life
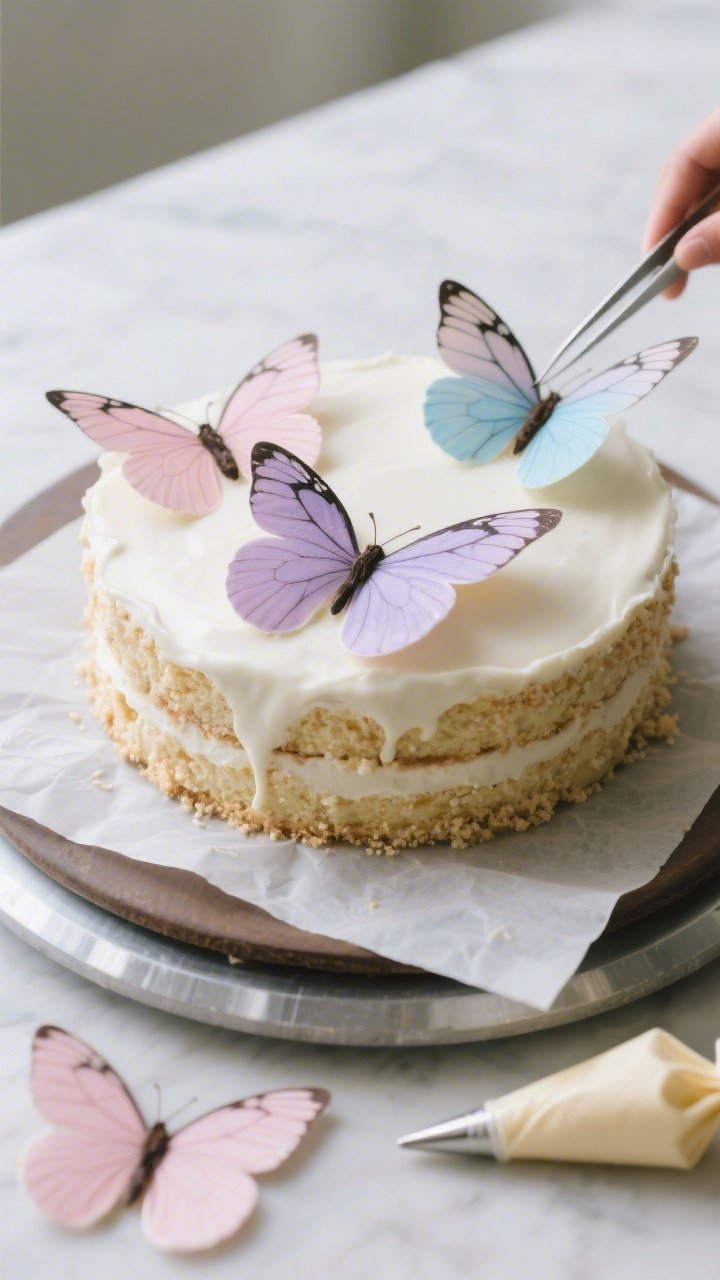
Time for butterflies! We’ll craft edible, delicate wings (sugar glass or chocolate), then place them so they look like they just landed on your buttercream blooms. It’s whimsical, elegant, and guaranteed to spark joy.
Ingredients:
- 3–4 ounces white chocolate or candy melts (or isomalt for sugar wings)
- Gel colors: pastel pink, lavender, sky blue, and a touch of black or cocoa for veining
- Piping bags with tiny snips or fine round tip 1
- Parchment paper and a small offset spatula
- Edible glitter or luster dust (optional, but magical)
- Remaining Vanilla Bean Swiss Meringue Buttercream for attaching pieces
Instructions:
- Make a wing template. On paper, draw simple butterfly wings (about 1.5–2 inches each). Slip this under a sheet of parchment on a tray.
- Melt and tint chocolate. Melt white chocolate gently (microwave 15–20-second bursts). Divide and tint with gel colors for soft pastels. Keep a little white for highlights.
- Pipe wings. Outline the wings with pastel chocolate, then fill in. Drag a toothpick for subtle marbling. Add fine black or cocoa-tinted lines for veining. Sprinkle with a whisper of luster dust if using.
- Set and shape. While still flexible, lift the parchment and rest it in a shallow “V” made with two books or a folded towel so wings dry with a natural curve, 10–15 minutes.
- Assemble butterflies. Use a dab of buttercream to “glue” two wings together at the base. Pipe a tiny chocolate body between them or use a sliver of chocolate as the thorax. Let set.
- Final assembly. Bring your decorated cake to room temp for 20 minutes so buttercream softens slightly. Nestle butterflies onto flower clusters, angling some as if mid-flight. Add a few extra leaves or tiny dots to blend them into the garden.
- Chill briefly. Refrigerate 10–15 minutes to set placements, then keep at cool room temperature until serving.
Serving and Tips: Place butterflies just before serving if your room is warm. For ultra-delicate wings, you can use rice paper painted with edible watercolor and cut into wing shapes—light as air. Want extra dimension? Pipe a buttercream “landing pad” for each butterfly so they sit securely.
How to Stack and Finish Like a Pro
Here’s the quick play-by-play for the whole cake: Level and stack your cake layers with a buttercream dam and the lemon-vanilla filling plus a few jam dots. Crumb coat and chill, then apply a smooth final coat. Pipe your floral swag with pastels, add leaves and vines, then perch butterflies. Clean the board edge with a damp towel, and you’re camera-ready.
Make-Ahead and Storage
- Cake layers: Bake, wrap, and refrigerate up to 2 days or freeze up to 2 months.
- Buttercream: Refrigerate 4 days or freeze 2 months; return to room temp and re-whip.
- Custard filling: Refrigerate 2 days; whisk briefly before using.
- Chocolate butterflies: Store cool and dry up to 1 week; avoid humidity.
Flavor Variations
- Almond Garden: Swap 1 teaspoon vanilla extract for 1 teaspoon almond extract; use apricot jam.
- Lavender Honey: Warm 1 tablespoon honey with a pinch of culinary lavender; mix into buttercream.
- Earl Grey Twist: Steep milk with 2 Earl Grey tea bags for the cake; cool before mixing.
- Berry Burst: Add fresh, well-dried raspberries between layers instead of jam for tart pops.
Gear You’ll Love
- Offset spatulas (small and large) for clean edges
- Bench scraper for smooth sides
- Turntable to make frosting a breeze
- Flower nails if you like prepping blooms ahead
Final Thought: This Vanilla Bean Butterfly Garden Cake is a total heart-stealer—delicate to look at, bold on flavor, and surprisingly doable when you break it down. Set your playlist, take it one step at a time, and have fun with those pastels. You’ve got this, and your guests are about to be very, very impressed—seriously, wait for the oohs and aahs.
Printable Recipe Card
Want just the essential recipe details without scrolling through the article? Get our printable recipe card with just the ingredients and instructions.