I’ve got a confession: I’m obsessed with no-bake cookies that actually set up solid, no fridge required. If you’ve ever bitten into something sticky that never firmed, you know the struggle. These peanut butter oatmeal cookies are the antidote—crunchy, chewy, and perfectly sturdy without chilling time. No more doorstop cookies or sad, melted half-malls. Let’s dive in.
Why these no-bake cookies are a winner
They’re a freakin’ miracle of simple ingredients and good timing. Peanut butter, oats, a touch of sweetness, and a dash of vanilla come together in a way that makes you wonder why anyone bothers with baked cookies ever again. The magic? The right ratio and the exact moment you fold in your dry mix so the batch firms up as it sits. FYI, the set-it-and-forget-it vibe is real.
What you’ll need in your kitchen
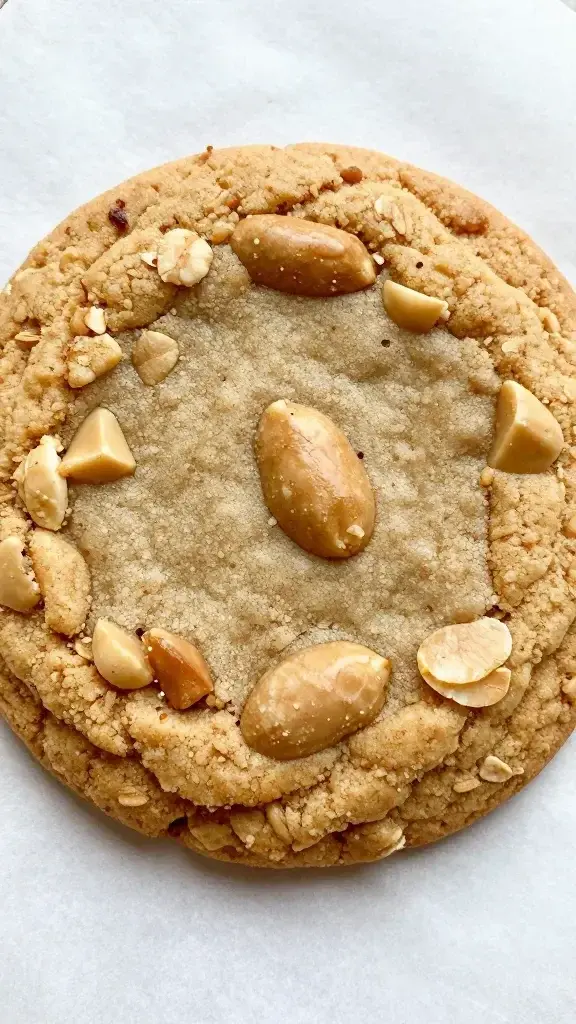
– Active ingredients: peanut butter (smooth or crunchy, your call), rolled oats, honey or maple syrup, sugar (optional, but recommended for bite), vanilla extract, a pinch of salt. Optional add-ins: chocolate chips, shredded coconut, sesame seeds, or chopped nuts.
– Tools: a sturdy saucepan, a spoon for stirring, a parchment-lined baking sheet, and a little dish to portion by the teaspoon or tablespoon.
– Optional extras: a splash of coconut oil to shine, or a tiny pinch of cinnamon for warmth.
Step-by-step: how to get the perfect set without refrigeration
1) Measure precisely. Too runny and you’ll have soup; too dry and they’ll crumble. Aim for a balance: oats bulk up the cookie, peanut butter provides binding, and the sweetener helps everything stick.
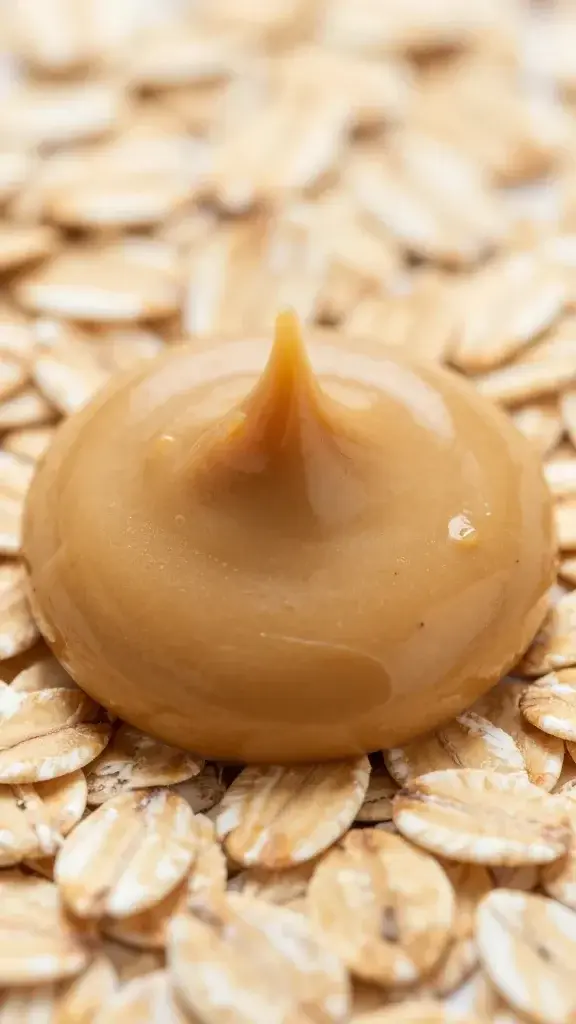
2) Heat the binders. Warm peanut butter, honey, and vanilla together until glossy. Don’t boil it—just loosen it up so the oats can drink it in.
3) Stir in oats and salt. Mix until every oat bit looks coated and glossy. This is where the magic starts—your batter should feel thick, not dry.
4) Optional add-ins go in now. If you’re adding chocolate chips, do it off the heat so they don’t melt into a puddle.
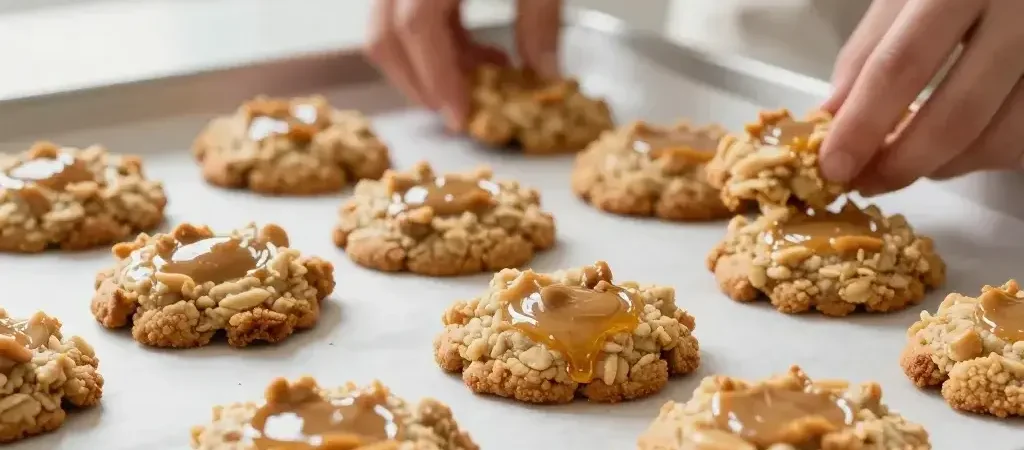
5) Scoop and shape. Drop spoonfuls onto the parchment and flatten slightly. They’ll firm up as they rest, so shape them to your preferred cookie thickness.
6) Let them set at room temp. The key is patience. Give them at least 20-30 minutes to calm down and hydrate. If your kitchen is chilly, they’ll set faster; if it’s sunny and warm, they’ll still be fine.
Common pitfalls and how to dodge them
– Too sticky batter? You probably added too much honey or not enough oats. Add a tablespoon of oats at a time until you reach a dry-mlicking-but-still-cohesive texture.
– Crumbly cookies? The binder wasn’t enough. Try adding a teaspoon of peanut butter or a drizzle more honey, then stir until it holds shape.
– No fridge, still soft? Let them rest longer. If your kitchen is very warm, give them extra cooling time and consider chilling on the counter for 15 minutes before serving.
– Sticking to the sheet? Use parchment or a silicone mat. A light spray of nonstick can help too, but parchment is the hero.
Flavor hacks to make them yours
– PB + chocolate lovers, rejoice. Fold in a handful of mini chocolate chips or drizzle melted chocolate on top after they set.
– For a nutty twist, swap in almond or cashew butter one time and see how it changes the vibe.
– Cinnamon and sea salt crackle. A pinch of cinnamon in the mix plus a light sprinkle of flaky salt on top adds depth.
– Coconut lovers can add shredded coconut to the mix. It adds texture and a tropical wink without needing refrigeration.
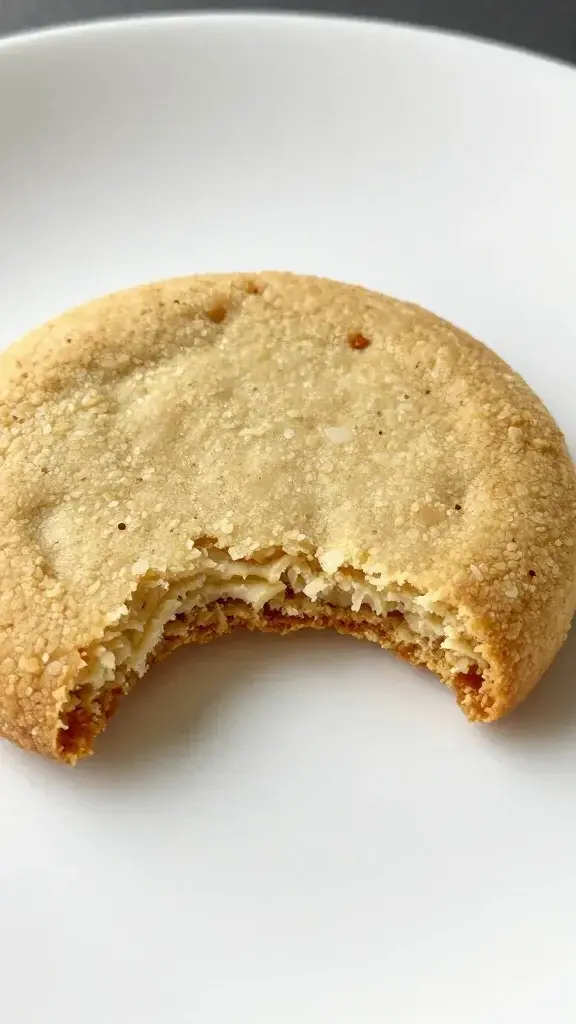
Texture talk: chewy vs. firm
The secret to a reliably set cookie is moisture balance. Too much liquid and you’ll get a soft, gluey bite; too little and you’ll get brittle discs. Aim for a dough that’s just dense enough to hold a shape, then let it rest. If you’re impatient, give them at least 20 minutes on the counter. If your home is cooler than Antarctica, you’ll be rewarded with a quicker firm set.
Storage and serving ideas that keep their shape
– Keep at room temperature in an airtight container for up to a week. They won’t melt into a sad puddle if kept dry and cool.
– If you’re packing them for a trip or a lunchbox, layer with parchment to prevent sticking and crumbs.
– Want to freeze? You can, but it’s optional. Place in a freezer-safe bag and thaw at room temp. They might become a tad chewier, which some people actually prefer.
Make-ahead and batch options
If you’re baking for a group or stocking up for the week, double the batch and portion into small clusters. They’re perfect for quick snacks, post-workout bites, or a desk drawer rescue mission when you’re hangry. Double batch tip: use a bigger pot, and make sure you stir constantly as the mixture heat-softens, then cools to binding perfection.
Frequently asked questions
Can I use crunchy peanut butter and still get a good set?
Absolutely. Crunch adds texture, and it won’t ruin the binding. If you want extra crunch, toss in a handful of chopped peanuts after you’ve stirred in the oats.
Do I need to refrigerate these cookies after they set?
Nope. They set at room temperature and hold their shape nicely. Refrigeration isn’t required unless you live somewhere very humid and you want extra longevity.
What’s the best sweetener for the no-bake set?
Honey gives a glossy binder and a chewy bite, while maple syrup offers a milder sweetness. If you want a more neutral flavor, try light brown sugar dissolved in a tablespoon of hot water before mixing in.
Can I substitute oats with another grain?
Oats are the magic here, but you can experiment with quick-cooking oats for a finer crumb or a small amount of crushed cereal for crunch. Just don’t replace too much, or the binding may suffer.
How long do these cookies stay fresh?
At room temp, they stay fresh for about a week in an airtight container. In the fridge, they’ll last longer but risk drying out if you forget about them. FYI, I’m totally guilty of finishing a batch in four days because they’re that good.
Conclusion
No bake peanut butter oatmeal cookies that set perfectly without refrigeration aren’t just a treat—they’re a practical little victory in your kitchen. Simple ingredients, quick prep, and a texture that holds up for days make them a go-to snack, gift, or wingman for your lunchbox. So next time you crave something sweet but don’t want to fuss with the oven, whip up a batch. You’ll thank yourself, and so will anyone who gets a bite. IMO, they’re the kind of dessert that deserves its own apartment—cozy, dependable, and a little bit cheeky. Enjoy!