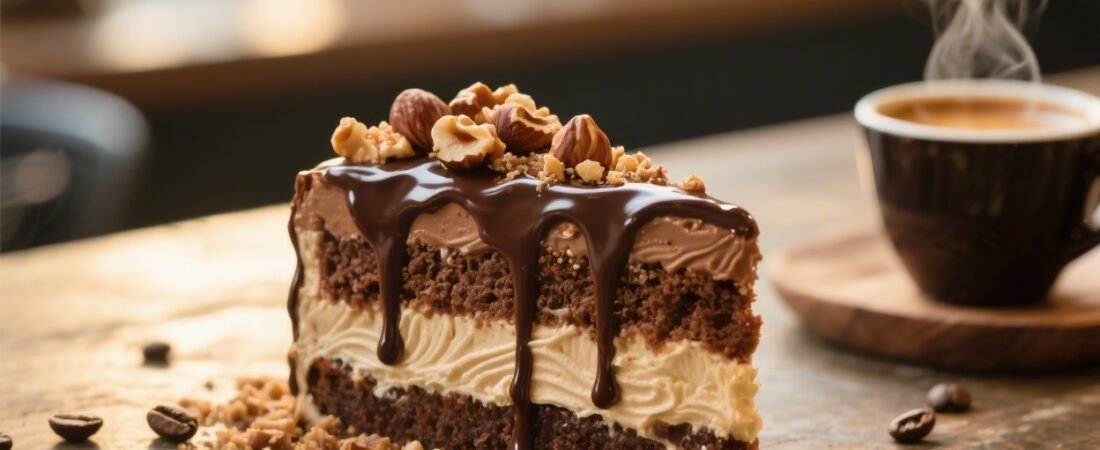
If your love language is coffee, this cake speaks fluent espresso. We’re building a showstopping Mocha Hazelnut Espresso Cake with rich, café-style layers, silky frostings, and that polished coffeehouse look you’d pay good money for. Think: plush cocoa sponge, hazelnut crunch, espresso syrup, and glossy finishes. It’s sophisticated, but we’re keeping it friendly and doable—no pastry degree required.
We’re breaking the masterpiece into five tight recipes that stack into one epic dessert. Bake the layers, soak in espresso, whip up dreamy fillings, then style it like your favorite coffee shop display. Ready to make something worthy of a barista’s wink?
1. Deep Mocha Cake Layers That Stay Soft For Days

This is the base you’ll brag about. The batter is simple, uses pantry staples, and bakes into tender, cocoa-rich layers that stay plush thanks to hot coffee and oil. It’s sturdy enough for stacking but soft enough to melt into the fillings. Bake ahead; it only gets better.
Ingredients:
- 2 cups (260 g) all-purpose flour
- 1 3/4 cups (350 g) granulated sugar
- 3/4 cup (75 g) natural cocoa powder
- 2 tsp baking powder
- 1 1/2 tsp baking soda
- 1 tsp fine sea salt
- 2 large eggs, room temp
- 1 cup (240 ml) whole milk, room temp
- 1/2 cup (120 ml) neutral oil (canola or sunflower)
- 2 tsp pure vanilla extract
- 1 cup (240 ml) hot brewed strong coffee
- Optional: 1 tbsp espresso powder for bolder coffee flavor
Instructions:
- Prep the pans. Heat oven to 350°F (175°C). Grease and line three 8-inch round cake pans with parchment. Lightly dust with cocoa.
- Whisk dry stuff. In a large bowl, whisk flour, sugar, cocoa, baking powder, baking soda, and salt. If using, whisk in espresso powder.
- Mix wets. In another bowl, whisk eggs, milk, oil, and vanilla until smooth.
- Combine. Pour wet into dry and whisk until nearly smooth—just a few lumps okay. Slowly stream in the hot coffee and whisk until glossy and thin.
- Bake. Divide batter evenly among pans. Bake 22–26 minutes, until a toothpick comes out with a few moist crumbs.
- Cool. Rest 10 minutes, then turn out onto racks. Peel parchment and cool completely.
Pro tip: Chill layers wrapped in plastic for at least 1 hour (or up to 2 days). Cold layers are easier to stack, slice, and soak with syrup without tearing.
2. Espresso Soak That Wakes Every Crumb Up

Here’s the secret café move: a light espresso syrup that keeps the cake extra moist and drives that coffee flavor home. It’s fast, it’s fragrant, and it turns good cake into unforgettable cake. Brush it on and watch the crumb drink it up.
Ingredients:
- 3/4 cup (180 ml) freshly brewed espresso or very strong coffee
- 1/3 cup (65 g) granulated sugar
- 1 tsp pure vanilla extract
- Optional: 1–2 tbsp coffee liqueur (like Kahlúa)
Instructions:
- Heat and dissolve. In a small saucepan, combine espresso and sugar over medium-low heat. Stir until the sugar dissolves, 2–3 minutes.
- Flavor it. Remove from heat and stir in vanilla and liqueur (if using). Cool to room temperature.
- Soak smart. Use a pastry brush to lightly coat the surface of each cooled cake layer. You want it moist, not soggy—about 2–3 tablespoons per layer.
Pro tip: If your kitchen is warm, chill the layers briefly after soaking to firm them up before filling. It makes assembly clean and precise.
3. Silky Hazelnut-Praline Crunch Filling You’ll Want To Eat By The Spoon
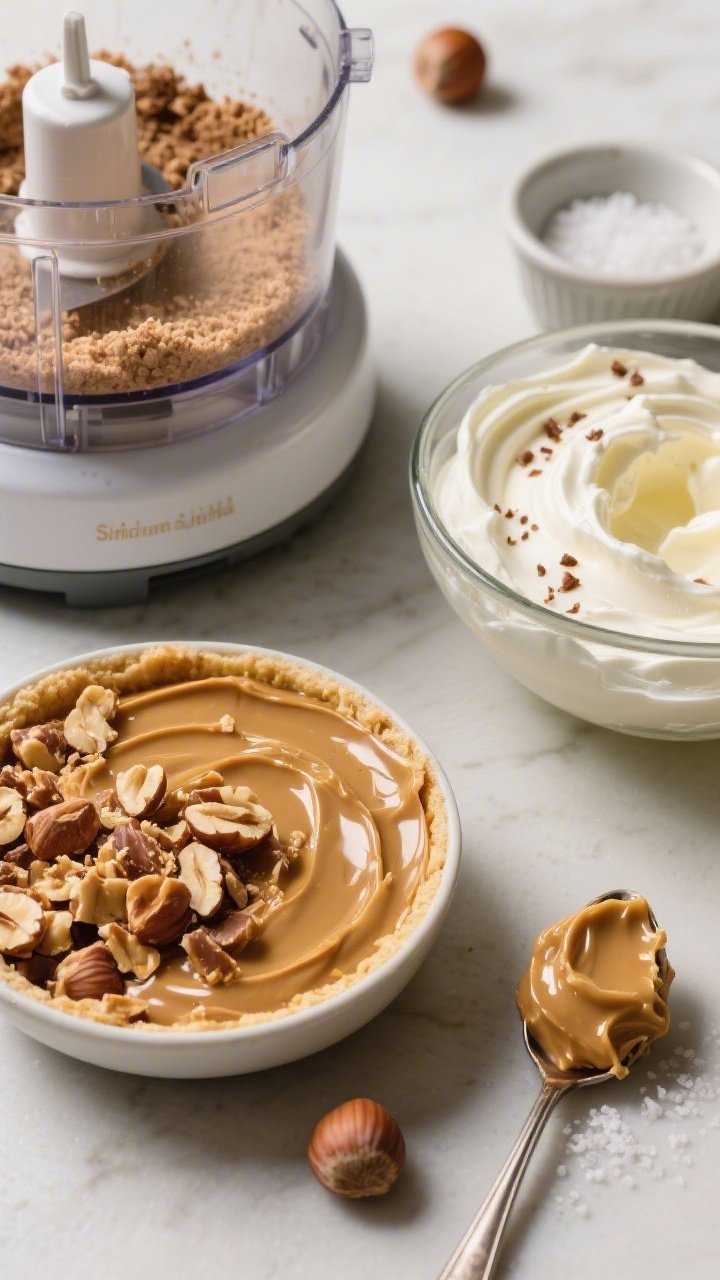
This layer brings the nutty magic. We’re making a quick praline crunch (no candy thermometer panic) and folding it into a light, satiny mascarpone-hazelnut cream. It’s sweet, nutty, and slightly salty—basically, it makes every bite sing.
Ingredients:
- 1 cup (140 g) toasted hazelnuts, skins mostly removed
- 1/2 cup (100 g) granulated sugar
- 1/4 tsp fine sea salt
- 8 oz (225 g) mascarpone, cold
- 1/2 cup (120 ml) heavy cream, cold
- 1/3 cup (100 g) chocolate-hazelnut spread (like Nutella)
- 1 tsp vanilla extract
Instructions:
- Make the praline. Line a sheet pan with parchment. In a skillet over medium heat, melt sugar without stirring until amber—swirl pan as needed. Immediately toss in hazelnuts and salt, coat quickly, then pour onto parchment. Cool completely.
- Crunch it. Pulse cooled hazelnut praline in a food processor to pea-sized bits (save some finer crumbs for garnish). You want texture, not dust.
- Whip the cream. In a cold bowl, beat heavy cream to soft peaks; set aside.
- Mascarpone blend. In another bowl, beat mascarpone, hazelnut spread, and vanilla until smooth, 30–45 seconds. Fold in the whipped cream gently until light and spreadable.
- Add crunch. Fold in 1/2–2/3 cup of the praline bits, reserving the rest for topping and edges.
Pro tip: If you need a dairy-free swap, use a thick coconut cream and dairy-free chocolate-hazelnut spread. Keep everything cold so it stays fluffy.
4. Glossy Mocha Swiss Meringue Buttercream That Spreads Like Velvet
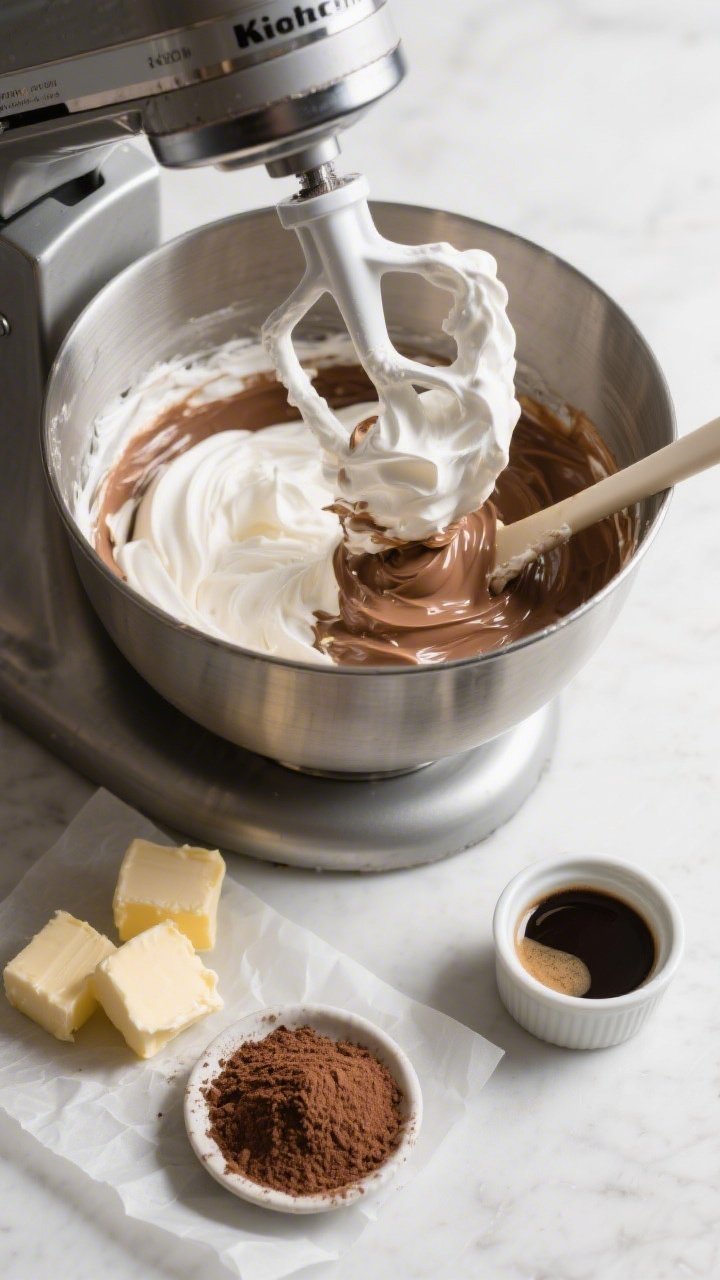
Frosting makes the outfit. This mocha Swiss meringue buttercream is silky, stable, and not tooth-achingly sweet. It pipes beautifully and gives that refined, café-case finish. Don’t be scared of the meringue—follow the cues and you’ll nail it.
Ingredients:
- 5 large egg whites (150 g), room temp
- 1 1/4 cups (250 g) granulated sugar
- 1/4 tsp fine sea salt
- 1 1/2 cups (340 g) unsalted butter, room temp, cubed
- 2 tbsp cocoa powder, sifted
- 2–3 tsp espresso powder dissolved in 2 tbsp hot water, cooled
- 1 tsp vanilla extract
- Optional: 2–3 oz (60–85 g) melted, cooled dark chocolate for extra depth
Instructions:
- Warm the whites. Combine egg whites, sugar, and salt in a heatproof bowl over a pot of gently simmering water (don’t let the bowl touch water). Whisk continuously until the mixture hits 160°F (71°C) and the sugar fully dissolves, 3–5 minutes.
- Whip the meringue. Transfer to a mixer and beat on high until glossy, stiff peaks form and the bowl feels cool, 7–10 minutes.
- Add butter. Switch to medium speed. Add butter a few cubes at a time. The mixture may look curdled—keep going. It will come together creamy.
- Flavor it. Beat in cocoa, espresso mixture, vanilla, and melted chocolate (if using). Mix until smooth and silky.
Fix-it tips: If it’s too loose, chill 10 minutes then whip. If too thick, warm the bowl base with your hands for 10–15 seconds and beat again. Trust me, Swiss meringue is forgiving once you know the dance.
5. Café-Style Assembly, Styling, And A Shiny Ganache Drip
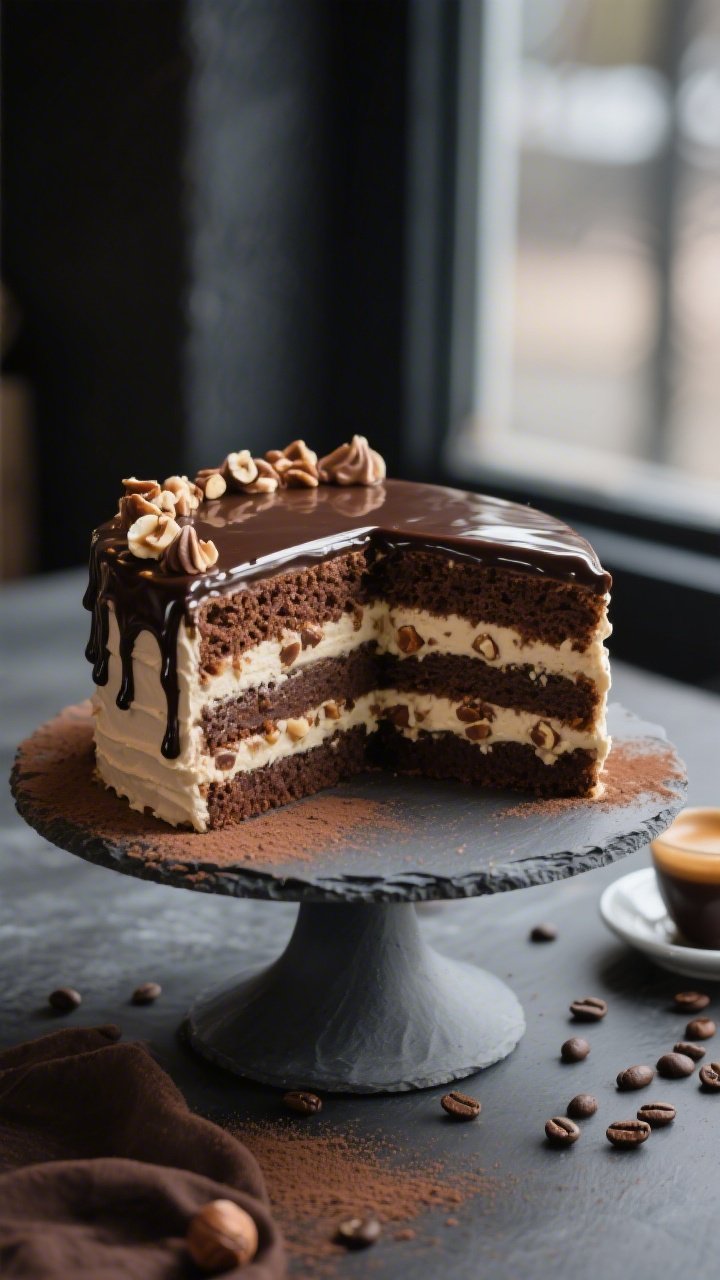
Now for the dramatic finish: stacking, smoothing, and adding that glossy espresso ganache drip plus roasted hazelnut edges. This is how you turn a great cake into a bakery-caliber showpiece that absolutely stops conversations.
Ingredients:
- All three mocha cake layers (from Section 1), cooled and soaked
- Hazelnut-praline mascarpone filling (from Section 3)
- Mocha Swiss meringue buttercream (from Section 4)
- Reserved hazelnut praline bits and crumbs (from Section 3)
- For ganache drip:
- 4 oz (115 g) dark chocolate, finely chopped
- 1/2 cup (120 ml) heavy cream
- 1 tsp espresso powder
- Pinch of salt
- Optional décor: chocolate-covered espresso beans, cocoa nibs, gold leaf, or a dusting of cocoa
Instructions:
- Level and layer. If needed, level cake tops. Place the first layer on a board. Add a thin swipe of buttercream to “glue” it down.
- Filling ring. Pipe a 1/2-inch ring of buttercream around the edge to create a dam. Spread half the hazelnut mascarpone filling inside the ring. Top with a scatter of praline bits for extra crunch.
- Repeat. Add the second layer, soak lightly if you held back syrup, then repeat the buttercream ring and remaining filling. Finish with the third layer on top.
- Crumb coat. Spread a thin layer of buttercream around the sides and top to catch crumbs. Chill 20–30 minutes until set.
- Final frost. Apply a thicker layer of buttercream. Use a bench scraper for smooth sides and a small offset spatula to create soft swirls on top, or go razor-sleek for that café case vibe.
- Ganache drip. For the ganache, heat cream to steaming. Off heat, whisk in espresso powder and salt, then pour over chocolate. Let sit 1 minute, whisk until glossy. Cool to a dripable, spoon-thick consistency.
- Drip and gloss. Test one drip on a chilled cake edge. If perfect, work around the rim with a spoon, letting ganache cascade in varied lengths. Pool some in the center and smooth.
- Finish like a pro. Press reserved praline crumbs around the base for a textured collar. Top with chocolate-covered espresso beans or a scatter of chopped hazelnuts. Chill 15 minutes to set the shine.
Serving and styling: Slice with a hot, dry knife for clean layers. A narrow slice goes far—it’s rich in the best way. For café flair, plate with a dollop of softly whipped cream and a dust of cocoa or espresso powder. Seriously, it’s a vibe.
Make-Ahead And Variations
- Cake layers: bake and wrap up to 2 days ahead or freeze up to 2 months.
- Buttercream: refrigerate 1 week or freeze 1 month; bring to room temp and rewhip.
- Filling: assemble day-of for peak texture; if making ahead, store up to 24 hours and stir before using.
- Flavor swaps: try almond praline and amaretto, or swap dark chocolate for milk if you like it softer.
Texture balance tip: Keep the buttercream layer thinner than the filling so the hazelnut and espresso shine. The cake should eat like a latte with a chocolate biscotto on the side—balanced, layered, and not cloying.
Why This Cake Hits The Café Note
We’ve got deep cocoa bass notes from the sponge, bright espresso mids from the soak and ganache, and a nutty, toasted top note from the praline. The mascarpone brings airy creaminess, and the Swiss meringue buttercream gives that elegant finish. It’s complex but comforting—like your favorite mocha, dressed up.
Troubleshooting Quickies
- Cake sunk? Batter was overmixed or oven door opened early. It’ll still taste amazing once layered.
- Buttercream soupy? Chill 10 minutes, then whip. Curdled? Keep beating; it’ll emulsify.
- Ganache too runny? Let it cool longer. Too thick? Warm 5 seconds in the microwave and stir.
That’s it—your Mocha Hazelnut Espresso Cake, café-styled and ready to impress. Brew a little extra espresso, invite a couple of friends, and prepare for the “you made this?!” moment. Save me a slice, okay?
Printable Recipe Card
Want just the essential recipe details without scrolling through the article? Get our printable recipe card with just the ingredients and instructions.