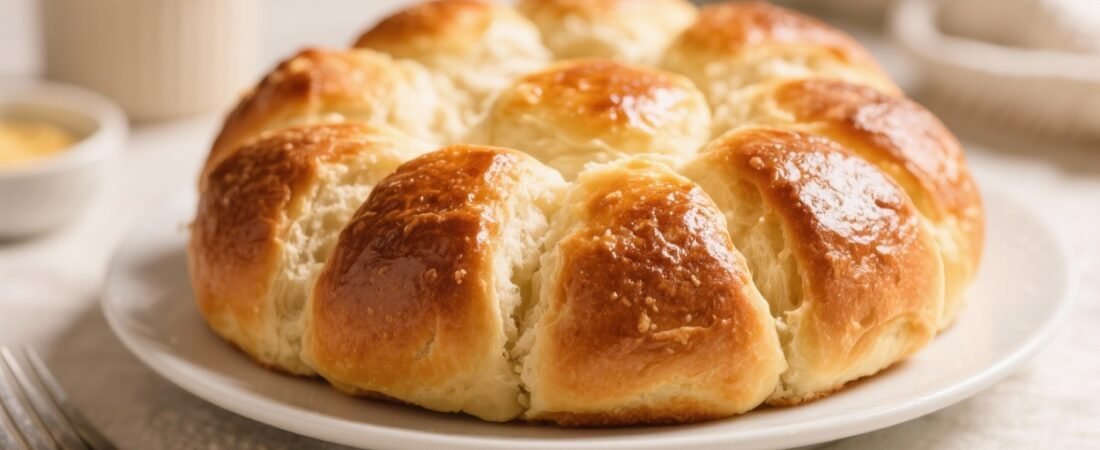
Warm, soft, and impossibly fluffy, these buttery pull-apart dinner rolls are the kind of bread that disappears fast. They’re golden on top, tender inside, and rich with real butter in every bite. Whether you’re hosting a holiday dinner or a casual weeknight meal, a pan of these rolls makes everything feel special.
The dough comes together easily, and the pull-apart shape means built-in portioning and lots of buttery edges. If you’ve never made homemade rolls before, this is a great place to start.
What Makes This Recipe So Good
- Soft and pillowy texture: A mix of milk, butter, and just the right kneading time creates ultra-tender rolls.
- Buttery in every layer: Butter goes into the dough, on top before baking, and again after baking for shine and flavor.
- Beginner-friendly method: Simple steps, clear timing, and a forgiving dough that’s easy to handle.
- Make-ahead friendly: The dough can be shaped ahead and chilled, then baked fresh when you need it.
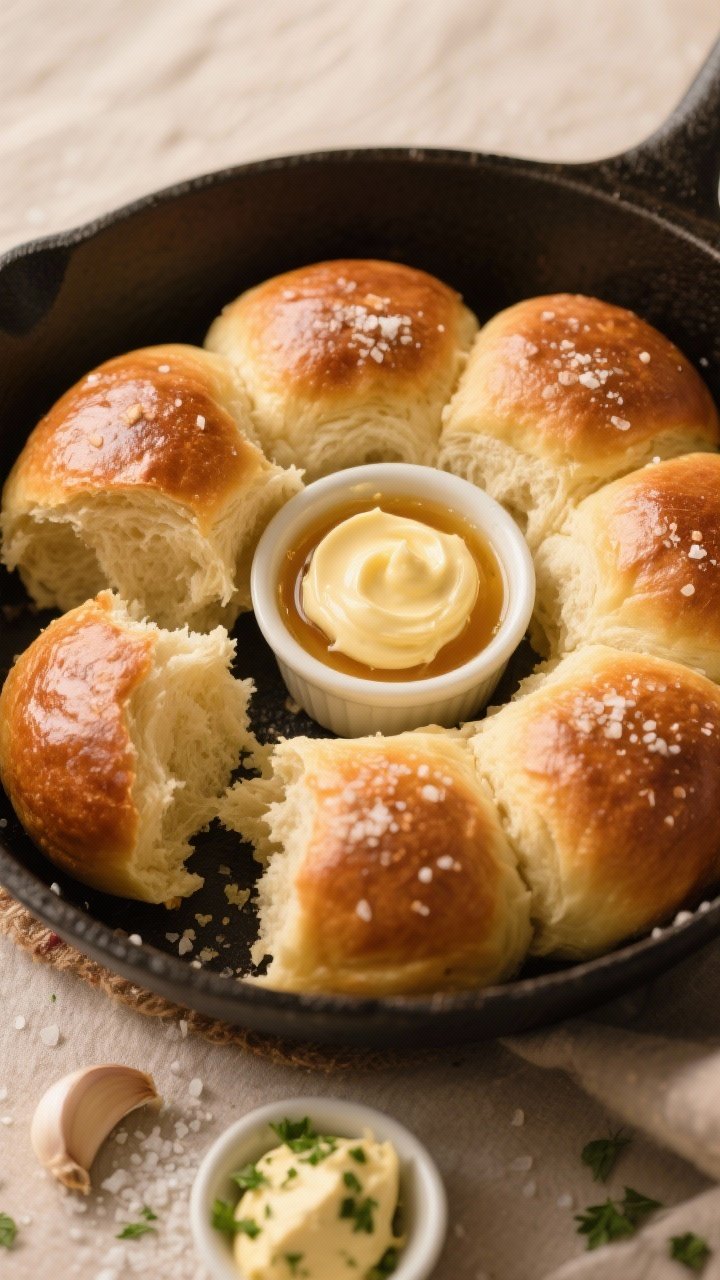
- Perfect for sharing: The pull-apart design means everyone can grab a warm piece straight from the pan.
Ingredients
- 3/4 cup (180 ml) warm whole milk (about 105–110°F/40–43°C)
- 2 1/4 teaspoons active dry yeast (one packet)
- 2 tablespoons granulated sugar
- 3 cups (360 g) all-purpose flour, plus more for dusting
- 1 teaspoon fine sea salt
- 1 large egg, room temperature
- 5 tablespoons unsalted butter, melted and slightly cooled (divided: 3 tbsp for dough, 2 tbsp for brushing)
- 1–2 tablespoons additional melted butter for finishing, optional
- Neutral oil or nonstick spray for greasing the bowl and pan
How to Make It
- Proof the yeast: In a large bowl, stir warm milk, yeast, and sugar. Let it sit 5–10 minutes until foamy.
If it doesn’t foam, your yeast may be inactive or the milk too hot or cold.
- Mix the dough: Add egg, 3 tablespoons melted butter, salt, and 2 1/2 cups of the flour. Stir with a wooden spoon until a shaggy dough forms. Gradually add remaining flour as needed until the dough is soft and slightly tacky but not sticky.
- Knead until smooth: Turn dough onto a lightly floured surface and knead 7–9 minutes, or use a stand mixer with a dough hook for 5–6 minutes on medium-low.
The dough should be smooth, elastic, and spring back when poked.
- First rise: Place dough in a lightly oiled bowl, turn to coat, and cover with a clean towel or plastic wrap. Let rise in a warm spot until doubled, about 60–90 minutes.
- Prepare the pan: Grease a 9×13-inch baking dish or a 10–12-inch round pan. For extra buttery flavor, brush with a little melted butter instead of oil.
- Shape the rolls: Turn the risen dough out onto the counter and gently deflate.
Divide into 12 equal pieces for large rolls or 15 for smaller ones. Shape each piece into a tight ball by tucking edges underneath and rolling under your palm.
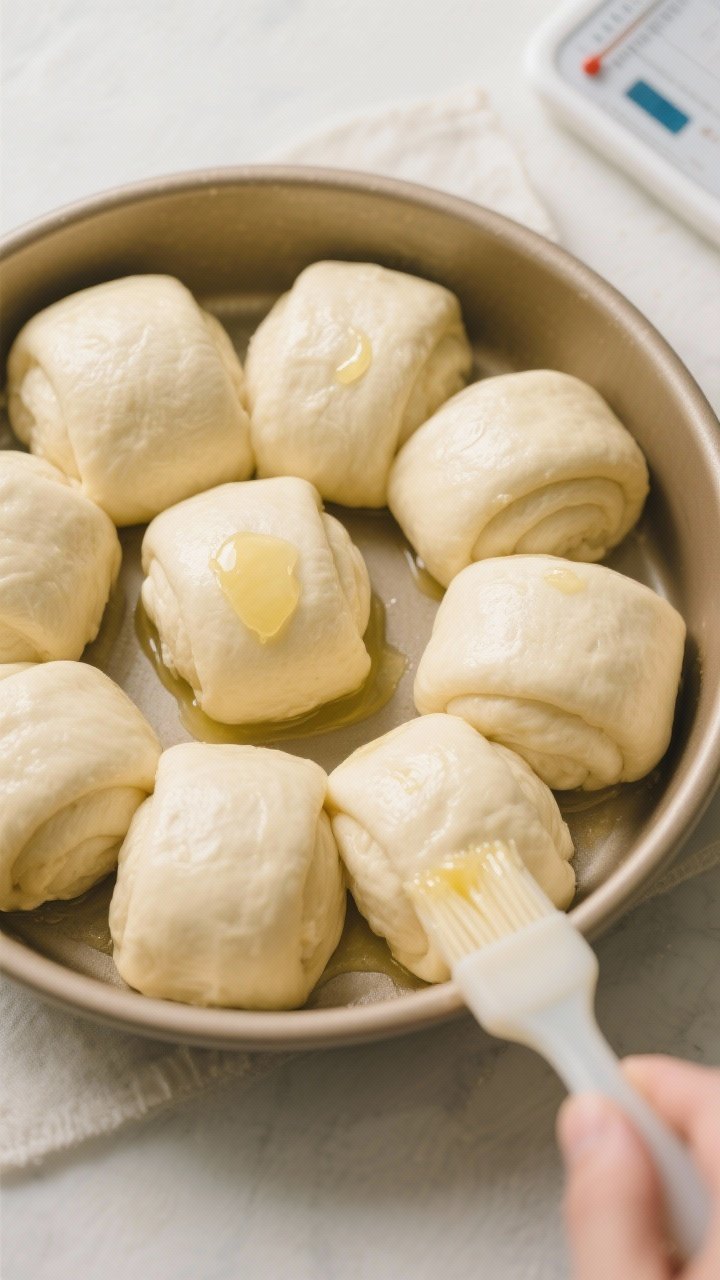
- Arrange and second rise: Place balls in the pan, leaving slight space between them. Cover and let rise until puffy and nearly touching, about 35–50 minutes.
- Preheat and brush: Heat oven to 375°F (190°C).
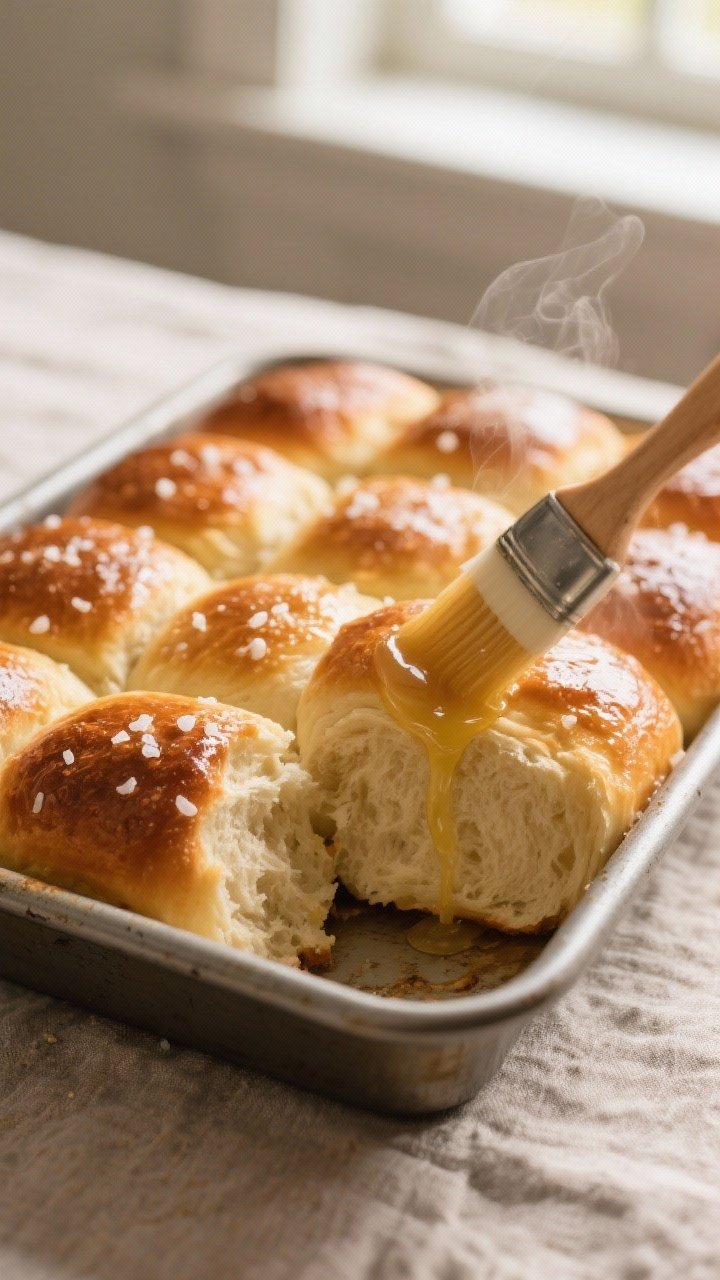
Brush tops with 2 tablespoons melted butter for a golden, flavorful crust.
- Bake: Bake 15–20 minutes, until the tops are deep golden and the center of a roll reaches about 195°F (90°C). If browning too fast, tent loosely with foil.
- Finish and serve: Brush hot rolls with more melted butter and a pinch of flaky salt, if you like. Let cool 5–10 minutes, then pull apart and serve warm.
Keeping It Fresh
- Room temperature: Store cooled rolls in an airtight container or bag for up to 2 days.
Add a paper towel to absorb moisture and keep them soft.
- Freezing: Freeze baked rolls in a freezer bag for up to 2 months. Reheat covered at 325°F (165°C) for 10–15 minutes, then finish with a brush of butter.
- Make-ahead shaping: After shaping, cover the pan tightly and refrigerate up to 18 hours. Bring to room temp and let them puff before baking (30–60 minutes).
- Reviving leftovers: A quick warm-up in the oven or air fryer makes day-old rolls taste freshly baked.
Benefits of This Recipe
- Consistent results: Clear rise times and target dough texture help even first-timers succeed.
- Flexible timing: You can spread the work over a day or make the dough in the morning and bake at dinner.
- Works with everyday ingredients: No specialty flours or complicated techniques required.
- Great for gatherings: Easy to scale and always a hit on buffets or family tables.
- Comforting and versatile: Pairs with soups, roasts, salads, or simply butter and jam.
What Not to Do
- Don’t kill the yeast: Milk that’s too hot will ruin the yeast.
Aim for warm, not hot.
- Don’t rush the rise: Underproofed dough leads to dense rolls. Wait until visibly puffy and airy.
- Don’t add too much flour: A slightly tacky dough bakes softer. Over-flouring makes rolls dry and tough.
- Don’t skip the butter brushing: It adds flavor, softness, and that classic glossy top.
- Don’t overbake: Dry rolls happen fast.
Start checking at 15 minutes and tent if needed.
Alternatives
- Brown butter: Use brown butter in the dough and for brushing to add a nutty, toasty note.
- Garlic-herb: Stir minced garlic and chopped parsley into the melted butter for brushing. Sprinkle with grated Parmesan.
- Honey butter: Whisk 1–2 tablespoons honey into the finishing butter for a light sweetness.
- Whole wheat blend: Swap up to 1 cup of the all-purpose flour for white whole wheat. Add 1–2 teaspoons extra milk if the dough feels dry.
- Dairy-free: Use plant milk and vegan butter.
Check salt levels, as some vegan butters are saltier.
- Overnight cold rise: Refrigerate the dough after the first knead for 8–24 hours to develop flavor, then shape and proof as usual.
FAQ
Can I use instant yeast instead of active dry?
Yes. Use the same amount and skip the proofing step. Mix instant yeast directly with the flour, then add warm milk, sugar, and remaining ingredients.
Rise times may be a bit shorter, so keep an eye on the dough.
How do I know I’ve kneaded enough?
The dough should be smooth, slightly bouncy, and not sticky. If you stretch a small piece between your fingers, it should form a thin, translucent “window” without tearing quickly. If it tears right away, knead a few minutes longer.
Why are my rolls dense?
Common reasons include milk that was too hot (which kills yeast), not allowing enough proof time, or adding too much flour.
Make sure your dough feels soft and just slightly tacky, and wait for that puffy, doubled look before baking.
Can I make smaller rolls?
Absolutely. Divide the dough into 15–18 pieces and reduce the bake time by a few minutes. They’re great for sliders or appetizers.
Do I need a stand mixer?
No.
A wooden spoon and your hands work perfectly. A mixer is convenient, but kneading by hand gives you great control over dough texture.
How can I tell when they’re done without a thermometer?
Look for a deep golden top and a light, hollow sound when tapped. A center roll should feel set and not doughy.
If the tops brown too fast, cover loosely with foil and continue baking.
In Conclusion
These buttery pull-apart dinner rolls are simple, cozy, and unbelievably satisfying. With a few pantry staples and some patient rise time, you get bakery-level softness and flavor at home. Serve them warm with a swipe of butter, pair them with soup, or use them for mini sandwiches.
Once you make a pan, you’ll find excuses to bake them again—and no one at your table will complain.