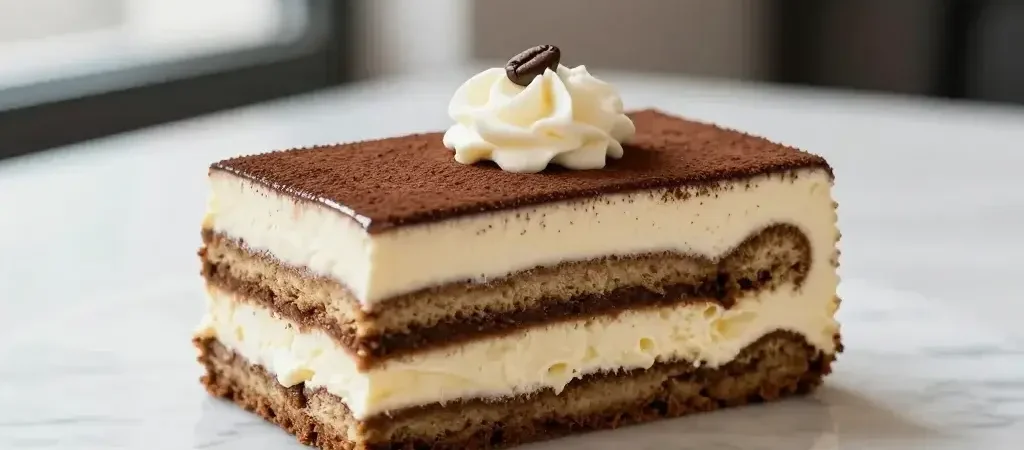
If you’ve ever walked into a bakery and swooned over a glossy tiramisu cake, this recipe is about to become your best friend. Yes, you can recreate that fancy, coffee-kissed dessert at home without turning your kitchen into a science lab. Spoiler: it’s easier than you think, and everyone will pretend you spent days on it.
What makes this tiramisu cake feel restaurant-fancy
You’re not just layering cake with cream here—you’re building a little dessert symphony. Think coffee-soaked sponge, luscious mascarpone filling, a kiss of cocoa, and a glossy finish that fools even the most discerning dessert snobs. The magic? It’s all about technique without drama. No need for a pro-level mixer or a fancy set of piping tips (though those help). FYI, simplicity can be incredibly chic when you stack flavors with intention.
Ingredients you actually want on your grocery list
– For the cake layers:
- 2 cups all-purpose flour
- 1 ½ cups granulated sugar
- ¾ cup unsalted butter, softened
- 3 eggs
- 1 cup milk
- 2 teaspoons baking powder
- 1 teaspoon vanilla extract
– For the coffee soak:
- 1 ½ cups strong brewed espresso or coffee, cooled
- ¼ cup coffee liqueur (optional, but highly recommended)
- 2 tablespoons sugar (adjust to taste)
– For the mascarpone filling:
- 1 ½ cups mascarpone cheese
- 1 cup heavy cream
- ½ cup powdered sugar
- 1 teaspoon vanilla extract
– For the finish:
- Unsweetened cocoa powder for dusting
- A few chocolate shavings or curls (optional)
Baking the base like a pro (but without the stress)
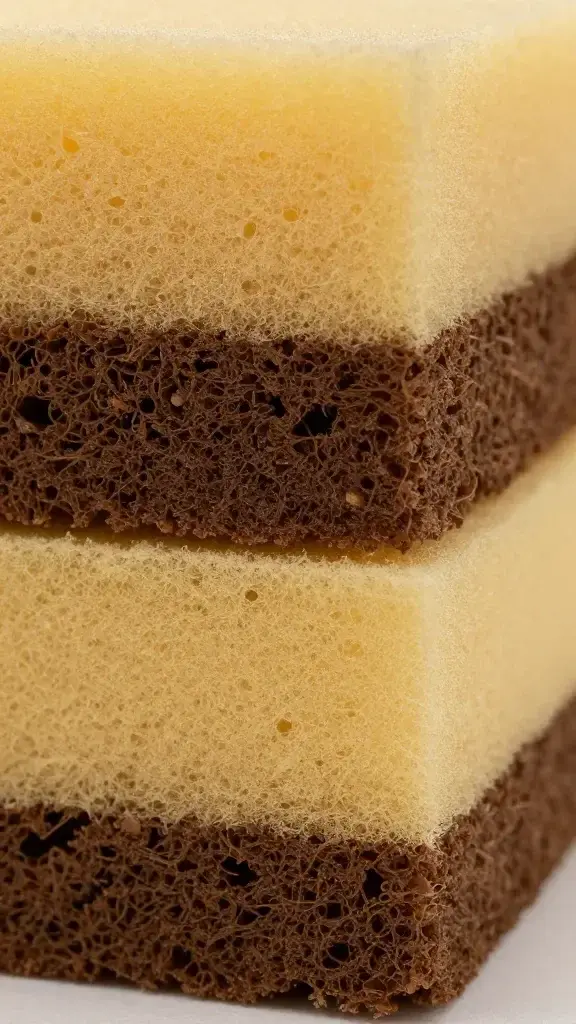
The cake is your stage, and you’re about to deliver. Since you’re aiming for a light, slightly moist sponge, here’s how to nail it:
– Preheat to 350°F (175°C). Grease two 8-inch cake pans, line with parchment, and set aside.
– Beat butter and sugar until pale and fluffy. Yes, this takes a few minutes, but it’s worth it—air = fluff.
– Add eggs one at a time, then vanilla. Scrape the bowl so you don’t miss a vibe.
– Alternate adding flour and milk. Start and end with flour. Don’t overmix—tender crumb, darling.
– Bake 25–30 minutes until a toothpick comes out with a few crumbs. Let cool in pans 10 minutes, then invert onto cooling racks.
– Pro tip: If your layers crack a bit, just pretend it’s rustic. You’re going for bakery-appeal, not perfection.
The soaking game: coffee that makes the cake sing
This is where the “fancy bakery” vibe starts to show up.
– Stir together espresso, liqueur (if using), and sugar until the sugar dissolves. It’s basically a fancy coffee syrup.
– Poke the cooled cake lightly with a skewer to help it soak. Then brush or drizzle the soak over the top of each layer. Don’t go full saturator mode—aim for moist, not soggy.
– Let the soaked layers rest a few minutes so the liquid binds. FYI, the edges should stay intact; we’re not making sponge pudding.
The dream filling: mascarpone cream that steals the show
This is the heart of the dessert. It needs to be rich, fluffy, and not too sweet.
– In a bowl, whip heavy cream until soft peaks form. If your whisk could talk, it would say “I’ve earned my keep.”
– In another bowl, beat mascarpone with powdered sugar and vanilla until smooth. Don’t overwork, or it’ll get grainy.
– Fold whipped cream into mascarpone gently. You want a luscious, airy texture, not a dense brick.
– Optional: add a splash of coffee to the filling for a deeper flavor, but taste as you go so you don’t go caffeinated crazy.
Assembling your centerpiece cake (the fun part)
This is where you get to show off a little, but in the most approachable way.
– Place one cake layer on your serving plate. If it’s domed, trim the top so it’s flat. Calm down—this isn’t a bake-off; it just needs to sit pretty.
– Spoon or pipe a generous layer of mascarpone cream over the first layer. You want plenty of cream to shine through in every bite.
– Add the second cake layer, then spread a thin coat of cream all around the cake. This “crumb coat” locks in specks and keeps the finish sleek.
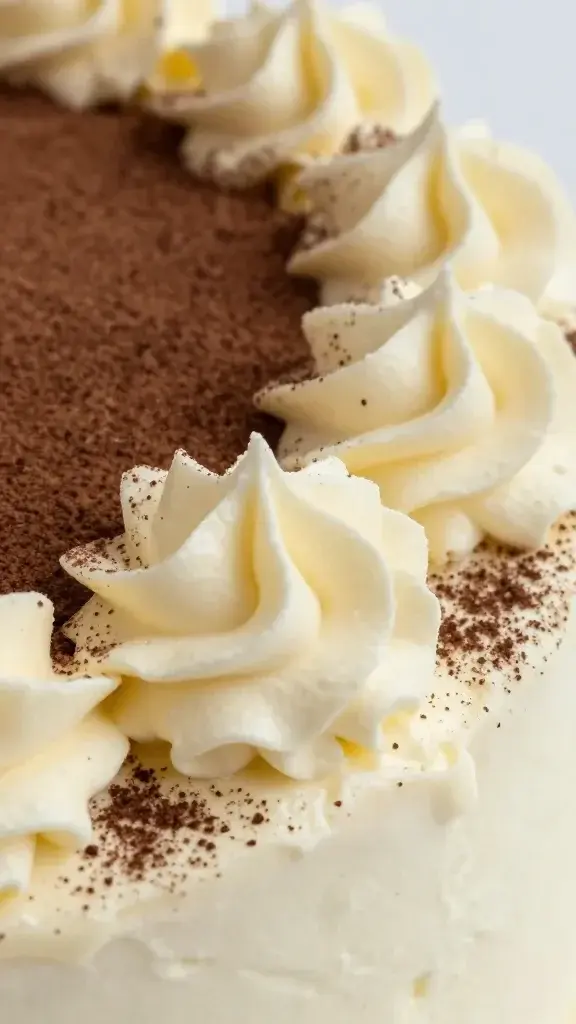
– Chill for 20–30 minutes to set. Then add a final thick layer of cream and smooth with a spatula or a cake-smoothing tool if you’re feeling fancy.
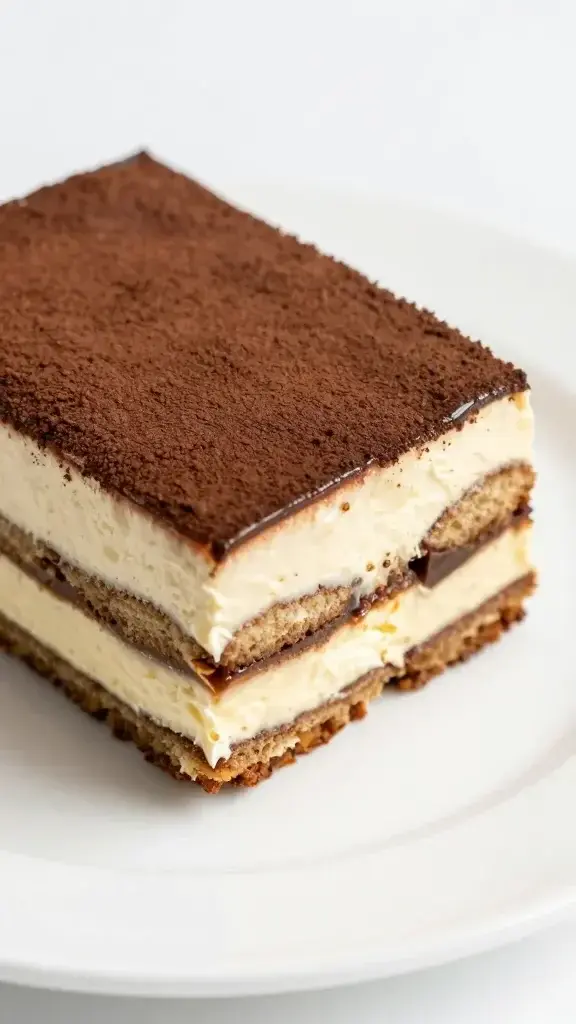
– Dust with cocoa powder just before serving. If you want extra drama, shave a few curls of chocolate on top. Boom, bakery vibes unlocked.
Textural twists: optional add-ins that still feel chic
– Chocolate chips or finely grated chocolate in the filling for a little surprise bite.
– A splash of Kahlua or amaretto in the whipped cream for a more adult twist.
– A light espresso drizzle over the finished cake to intensify the coffee aroma. Experiment like you’ve got a passport to dessert land.
– Swap in a white chocolate mascarpone layer for a brighter, sweeter contrast. It’s like sunglasses for your flavor profile.
Storage and serving: keep it glossy, not gloppy
– Store in the fridge, covered, for up to 3 days. The flavors will mellow in a good way.
– Let the cake sit at room temperature for 20–30 minutes before serving so the cream softens and the cake feels indulgently creamy.
– Slice with a warm knife for clean cuts. Wipe the blade between slices for pristine presentation.
– If you’re taking it to a party, decorate the plate with a dusting of cocoa and a few chocolate shavings for Instagram-worthy slices.
Troubleshooting quick fixes
– Cake crumbles when slicing: chill the cake longer or use a sharper knife. A clean cut is half the dessert victory.
– Filling seems runny: chill the mascarpone mixture for 15 minutes and re-whip briefly. It wants to be stiff enough to hold its own.
– Too sweet? Balance with a pinch of salt in the mascarpone or a stronger coffee soak. FYI, salt is the dessert’s secret flavor dimmer switch.
Make-ahead and timing tips
– Bake the cake layers a day ahead. Wrap tightly and chill.
– Prepare the mascarpone filling a few hours before assembly and keep chilled.
– Assemble and finish the cake closer to serving for the freshest look, but you can definitely prep the elements in advance.
FAQ
Can I use ladyfingers instead of cake layers?
Consistent with the ‘bakery vibe’ dream, you can, but the texture shifts from a cake to a tiramisu lattice. So you’ll have a tiramisu tiramisù—still delicious, just different. If you stick with cake layers, you’ll get that classic sliceable, cake-and-cream experience.
Is there a dairy-free version that still feels fancy?
Absolutely. Use a vegan mascarpone substitute and coconut cream whipped with a touch of vanilla. The result will be lighter, with a hint of coconut. It won’t be exactly the same, but it can be equally delightful and very “wow, you’re fancy.”
What’s the best coffee for soaking?
Strong espresso is ideal, but cold brew concentrate also works. The key is flavor intensity without bitterness. If you’re using regular coffee, strengthen it a bit and reduce brewing time to keep it smooth.
How do I prevent the top from cracking?
Trim domed tops evenly, or bake with even heat distribution in mind. A gentle oven and proper pan prep go a long way. If a crack appears, cover it with the cocoa dusting and call it a “rustic espresso glaze”—easy fix, high style.
Can I make this cake gluten-free?
Yes, swap in a gluten-free all-purpose flour blend, and you’re good to go. Watch the bake time—gluten-free batters often need a touch more moisture. A quick test with a toothpick will save the day.
Do I have to refrigerate the cake?
Yes. Mascarpone and whipped cream set best in the fridge. It’s safe to keep it chilled for better texture and to keep those flavors in line.
Conclusion: you, the dreamy bakery-at-home star
If you’ve been craving that glossy, fancy vibe without the price tag or a detour to the closest bakery, this tiramisu cake recipe nails it. It’s approachable, a little cheeky, and surprisingly foolproof if you follow the steps. IMO, the best part is that you control the sweetness, the strength of the coffee, and the level of “wow” on the plate. So grab your spatula, invite a friend over, and pretend you’ve got a pastry chef alter ego living in your kitchen. Your taste buds will thank you, and your friends will pretend you’re a cake whisperer. FYI, you’ve earned those bragging rights.